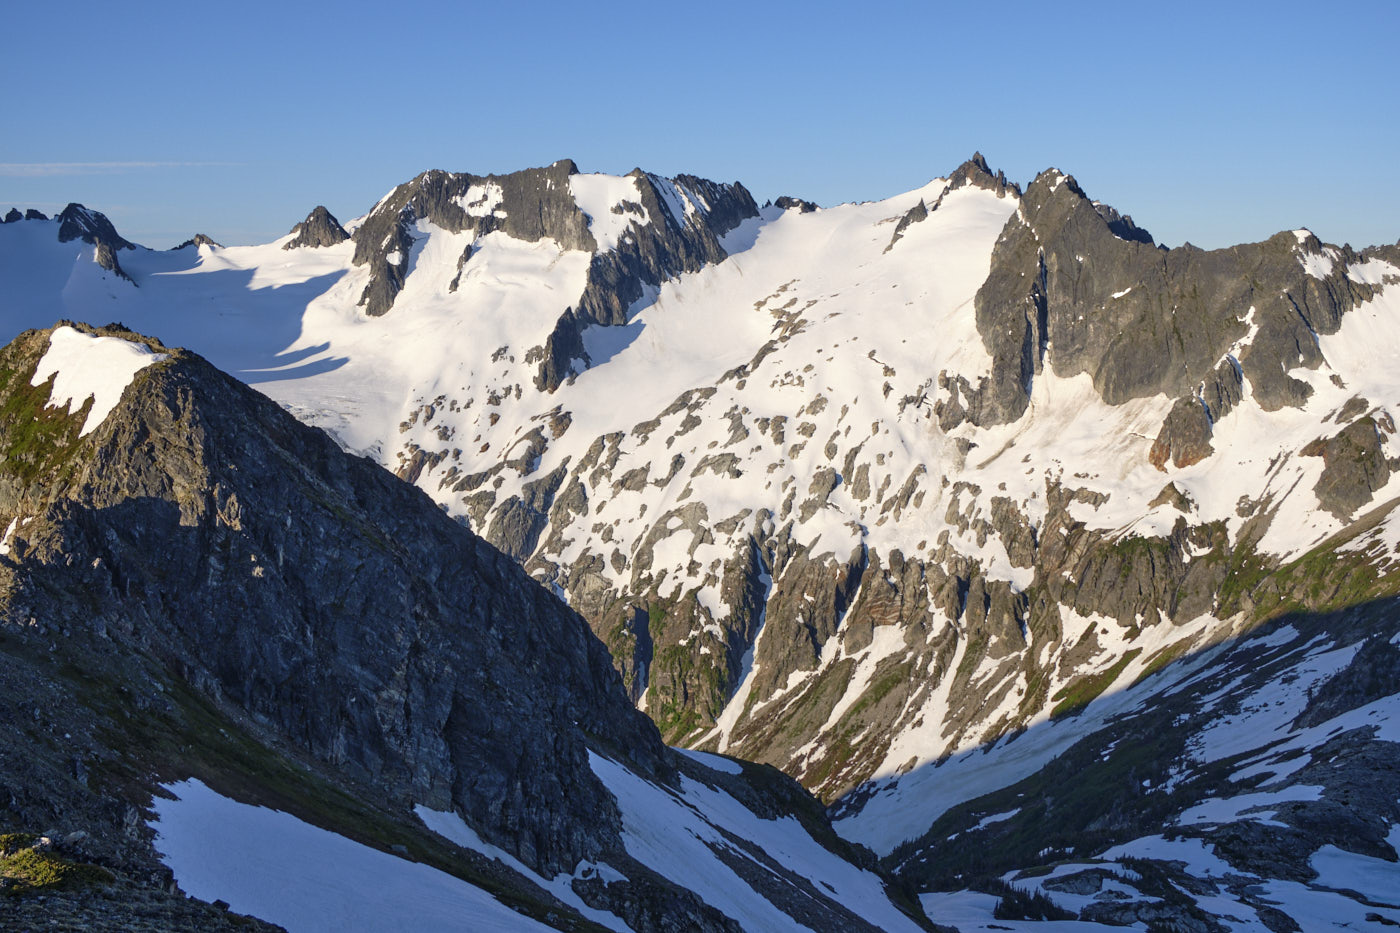
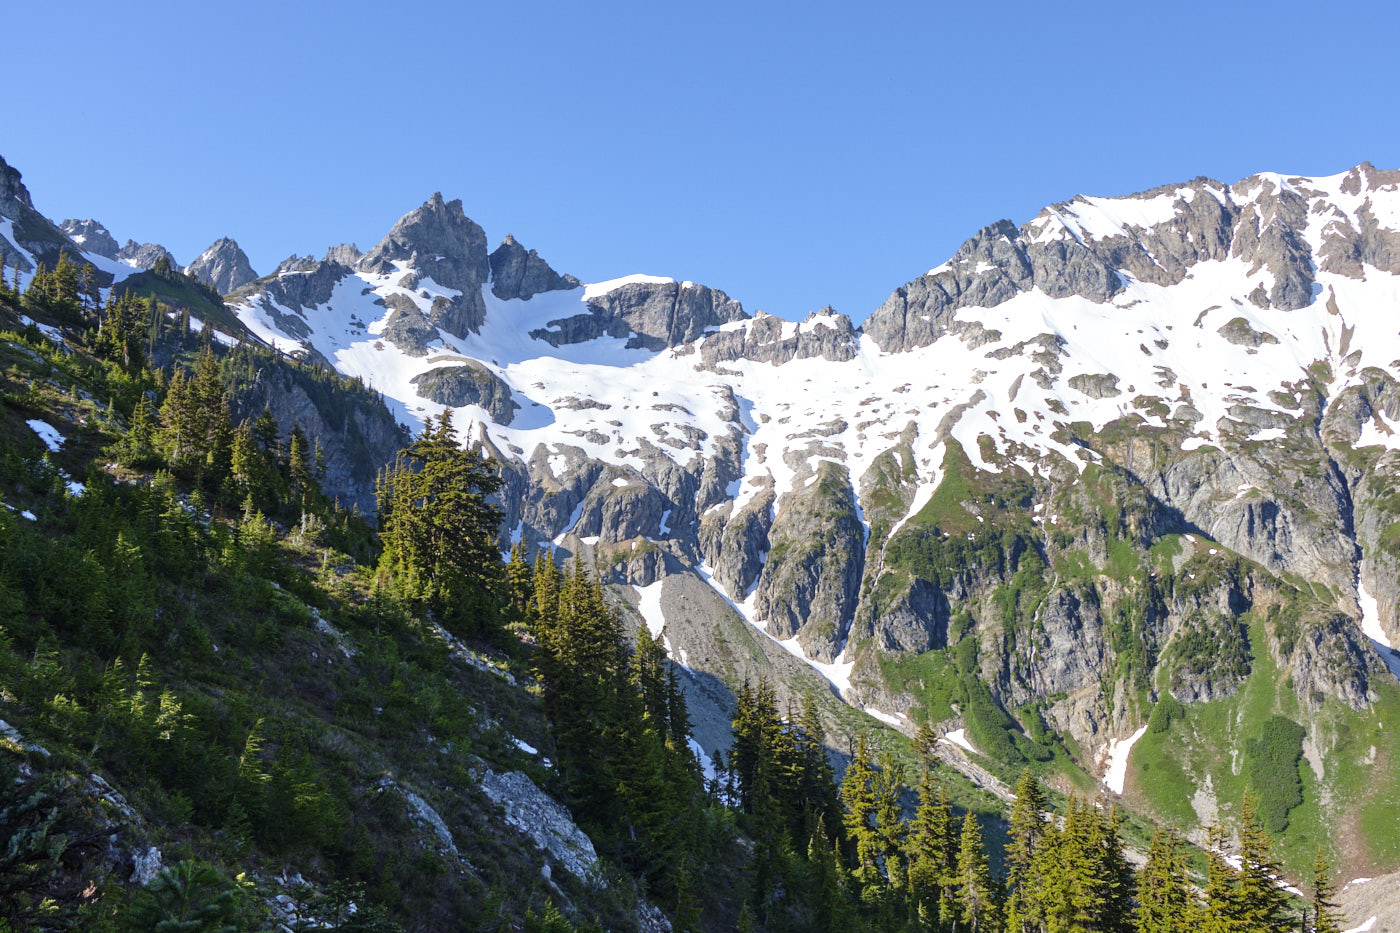
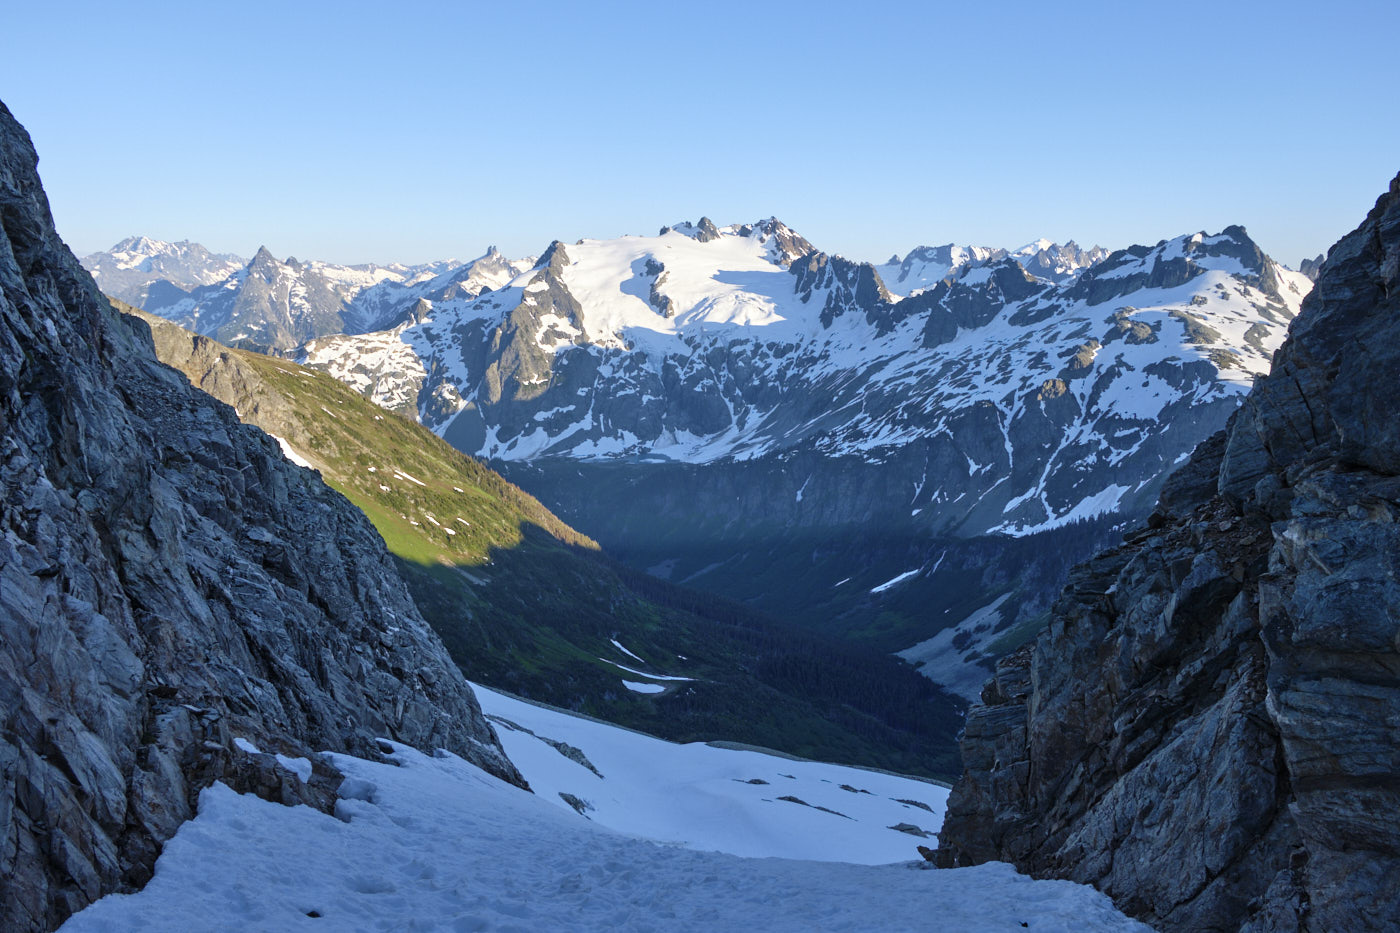
The Ptarmigan Traverse, out-and-back
Washington's ultra-classic alpine traverse
Of Washington’s numerous established alpine traverses, the Ptarmigan Traverse is the most famous. It follows the spine of the North Cascades between Cascade Pass and the Suiattle River, remaining continuously above treeline. The route is rugged and off-trail, and crosses multiple glaciers and high passes. No roads or marked trails intersect the route between its northern and southern exits, increasing its remoteness and commitment. All of these factors contribute to the Ptarmigan’s wilderness character and appeal.
High routes like the Ptarmigan demand a well-rounded mountaineering skillset: off-trail navigation, snow and glacier travel, scrambling, and backpacking. Equally important is the fitness and experience to put these skills together over consecutive days of hard effort. For me, after a few years of climbing mountains in Washington, high routes felt like the natural next step.
Strategy
Tim and I initially set ourselves the goal of completing a smaller high route later in the summer of 2024. But when a strong high-pressure weather forecast appeared for the July 4th long weekend, the opportunity to try the Ptarmigan seemed too good to pass up.
We made a few decisions that I think were good in hindsight:
- Out-and-back: The Ptarmigan is conventionally done as point-to-point from Cascade Pass to the Suiattle River. However, we chose to do it as an out-and-back, entering and exiting from Cascade Pass. While this adds more mileage to the traverse, the main advantages were:
- We avoided the heinous bushwhack down Bachelor Creek, spending more time in the beautiful high alpine.
- We didn’t need to do a car shuttle, saving many hours of driving and giving us the flexibility to turn around at any point.
- Gear choices:
- Footwear: Instead of heavy mountaineering boots, we used trail runners with crampons and waterproof socks. This combo was really effective on the moderate snow of the Ptarmigan and enabled us to move a lot faster. Note that not all shoe-crampon combinations work well, so it’s important to test your setup somewhere less committing. I used and would recommend a stiffer trail runner (La Sportiva Ultra Raptor) with a flexible strap-on crampon (Kahtoola KTS).
- Technical gear: We each brought a lightweight crevasse rescue rack, a picket, and a 30m glacier rope. There’s no 5th class rock climbing on the standard traverse and we didn’t bring any rock gear.
Day 1: Cascade River Road to “Yang Yang Ridge”
Stats: 16.5 miles, 7.8k feet elevation gain
Cascade River Road had been washed out earlier in the spring and was gated at the Eldorado trailhead, so our journey began with a 3 mile road walk. 0.3 miles in, I realized that I’d left my glacier glasses in the car! It was lucky that I caught the mistake early on, and I ran back to grab them. I had brought a backup pair of sunglasses, but darker glacier glasses are much more comfortable for long days on snow.
Without vehicle access, the Cascade Pass parking lot was peaceful and beautiful. We joked how the parking lot itself could make for a decent day-hiking destination while the road was closed.
We hiked up the Cascade Pass trail on its infamously long and gently-graded switchbacks (taking 3.6 miles to cover a meager 1.8k’ vertical). Normally this is one of the most popular trails in the North Cascades, but on this day we saw only a few other folks who were willing to put up with the road walk.
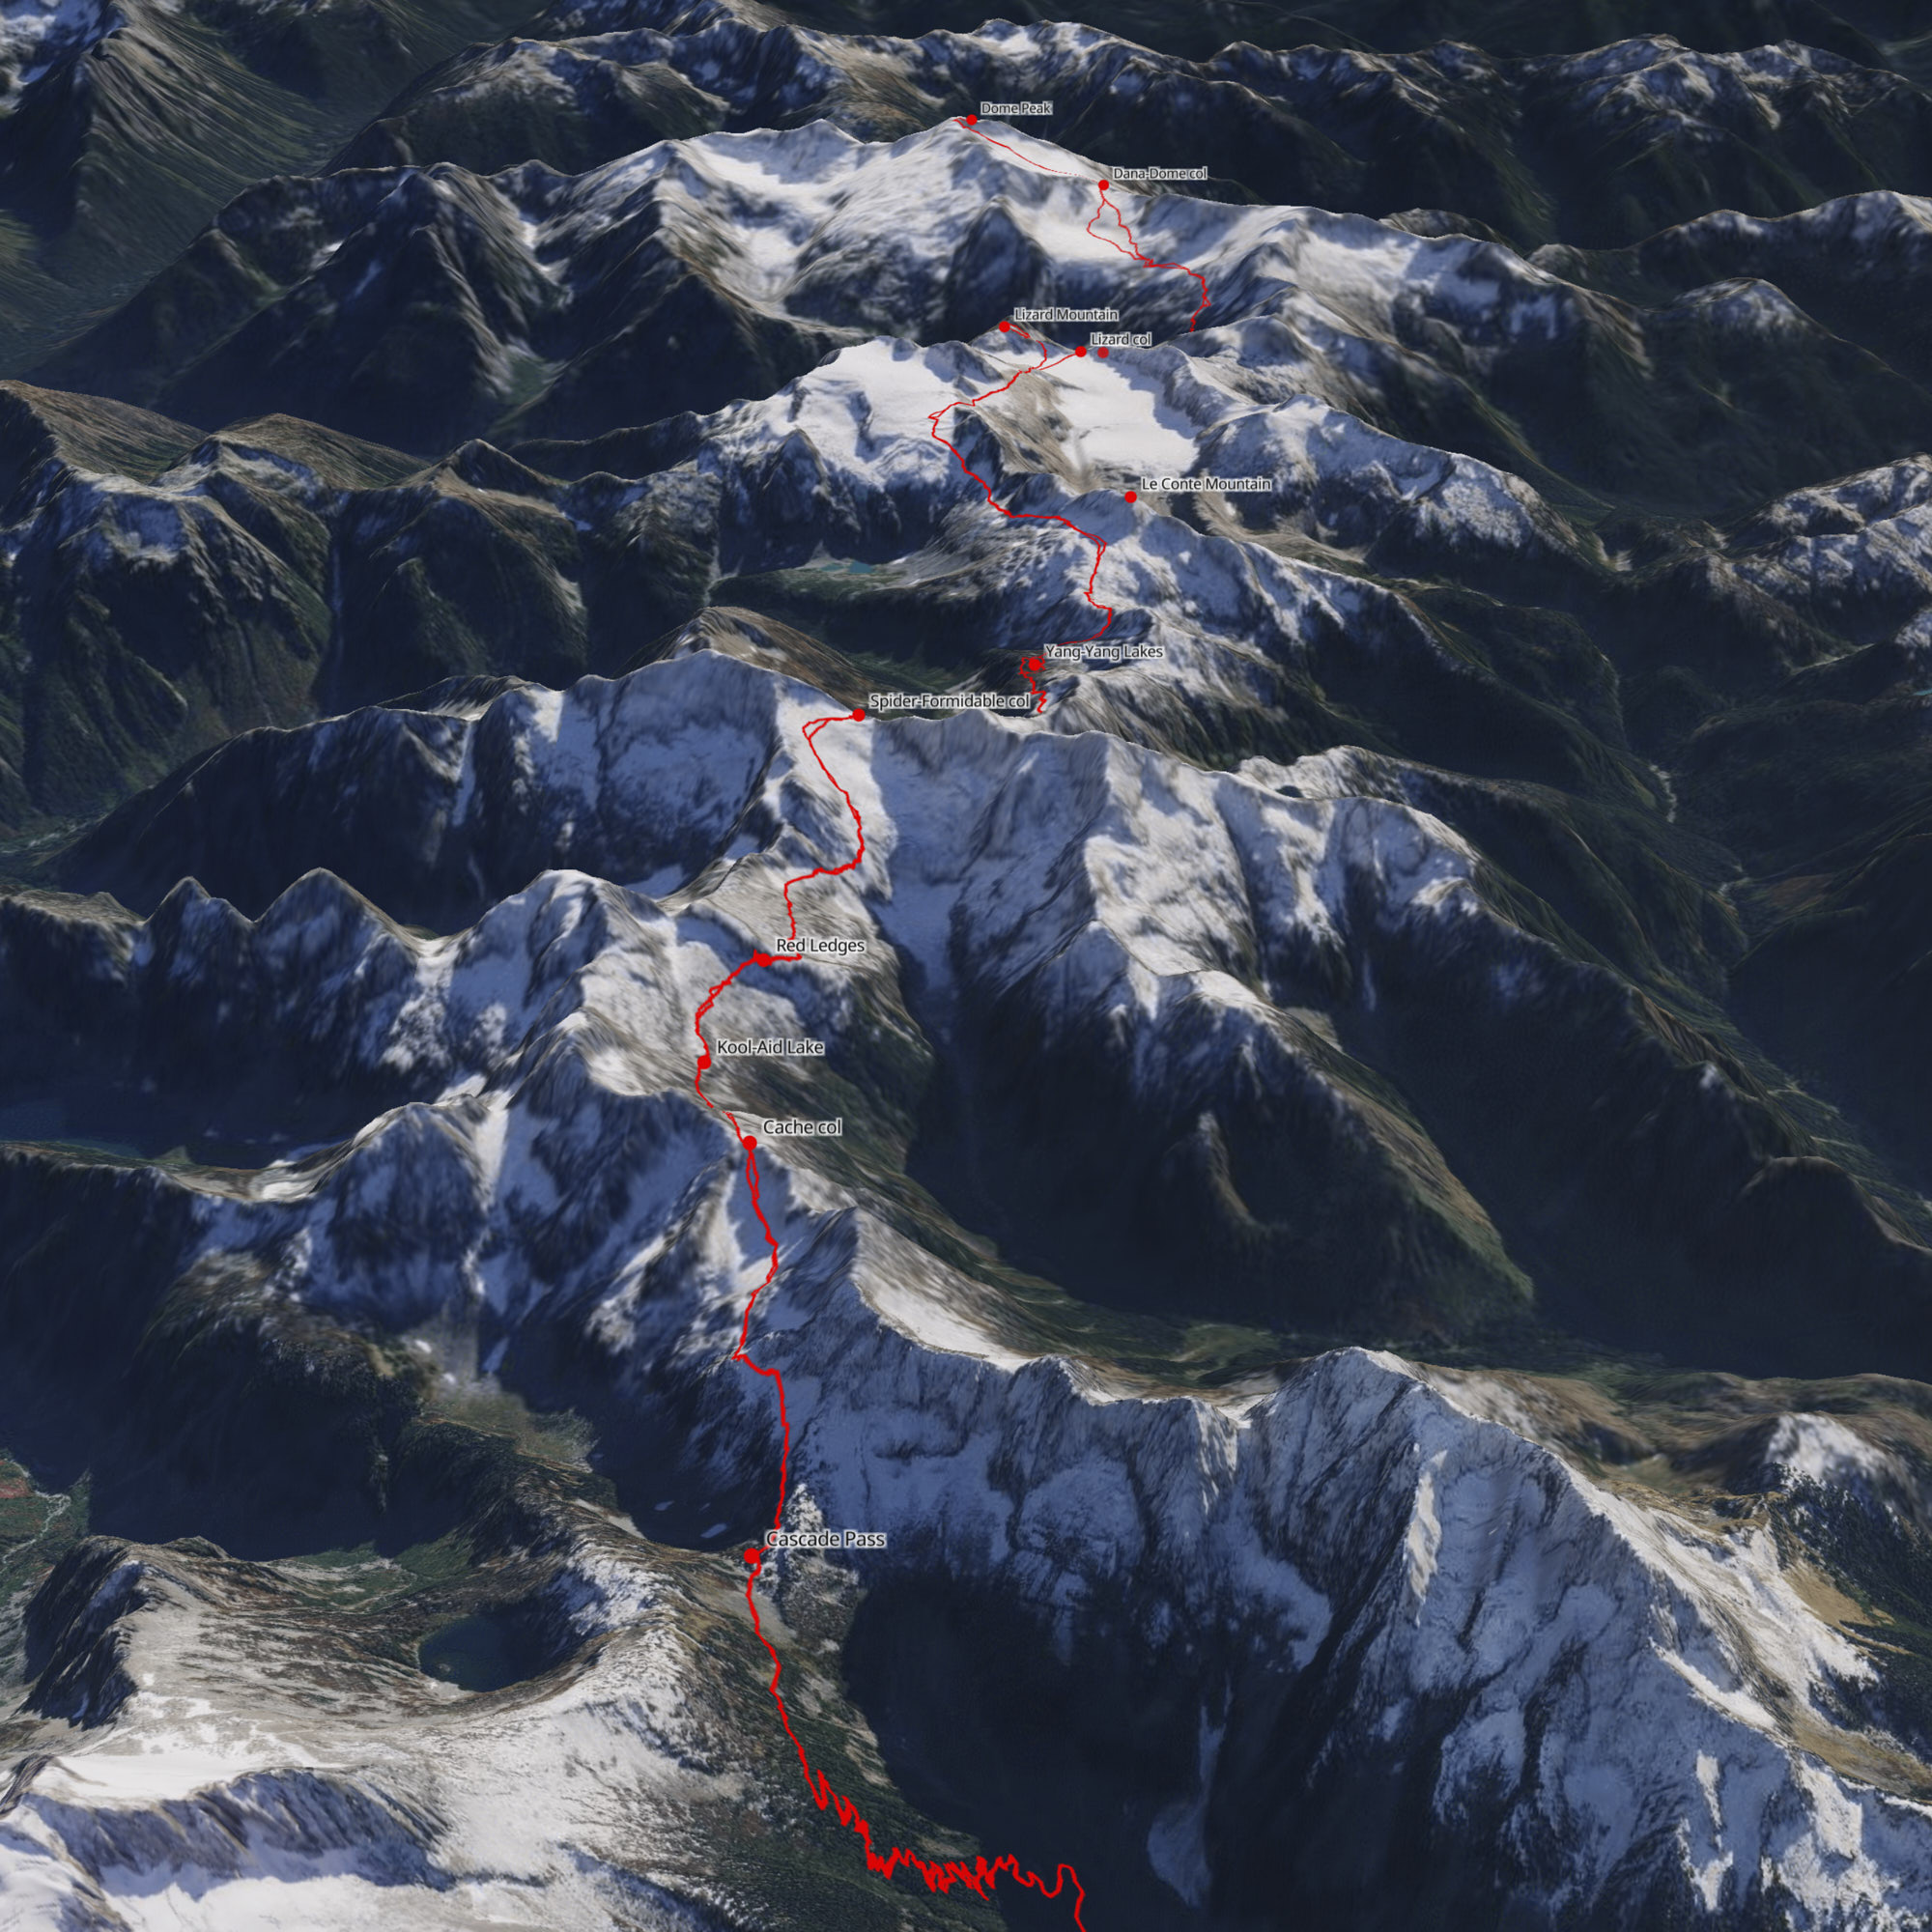
For us, Cascade Pass marked the end of the established trail and the beginning of the traverse. We followed a climber’s path southwards and soon hit continuous snow. Our first goal was Cache Col, a window in the rocky ridge between Magic Mountain and Mixup Peak that allowed non-technical passage.
The descent from Cache Col to Kool-Aid Lake went smoothly, and we continued towards the Red Ledges, which is sometimes a crux of the traverse. For our trip the ledges were mostly a non-issue, with a healthy steep snow ramp leading onto the ledges and no snow on the ledges themselves.
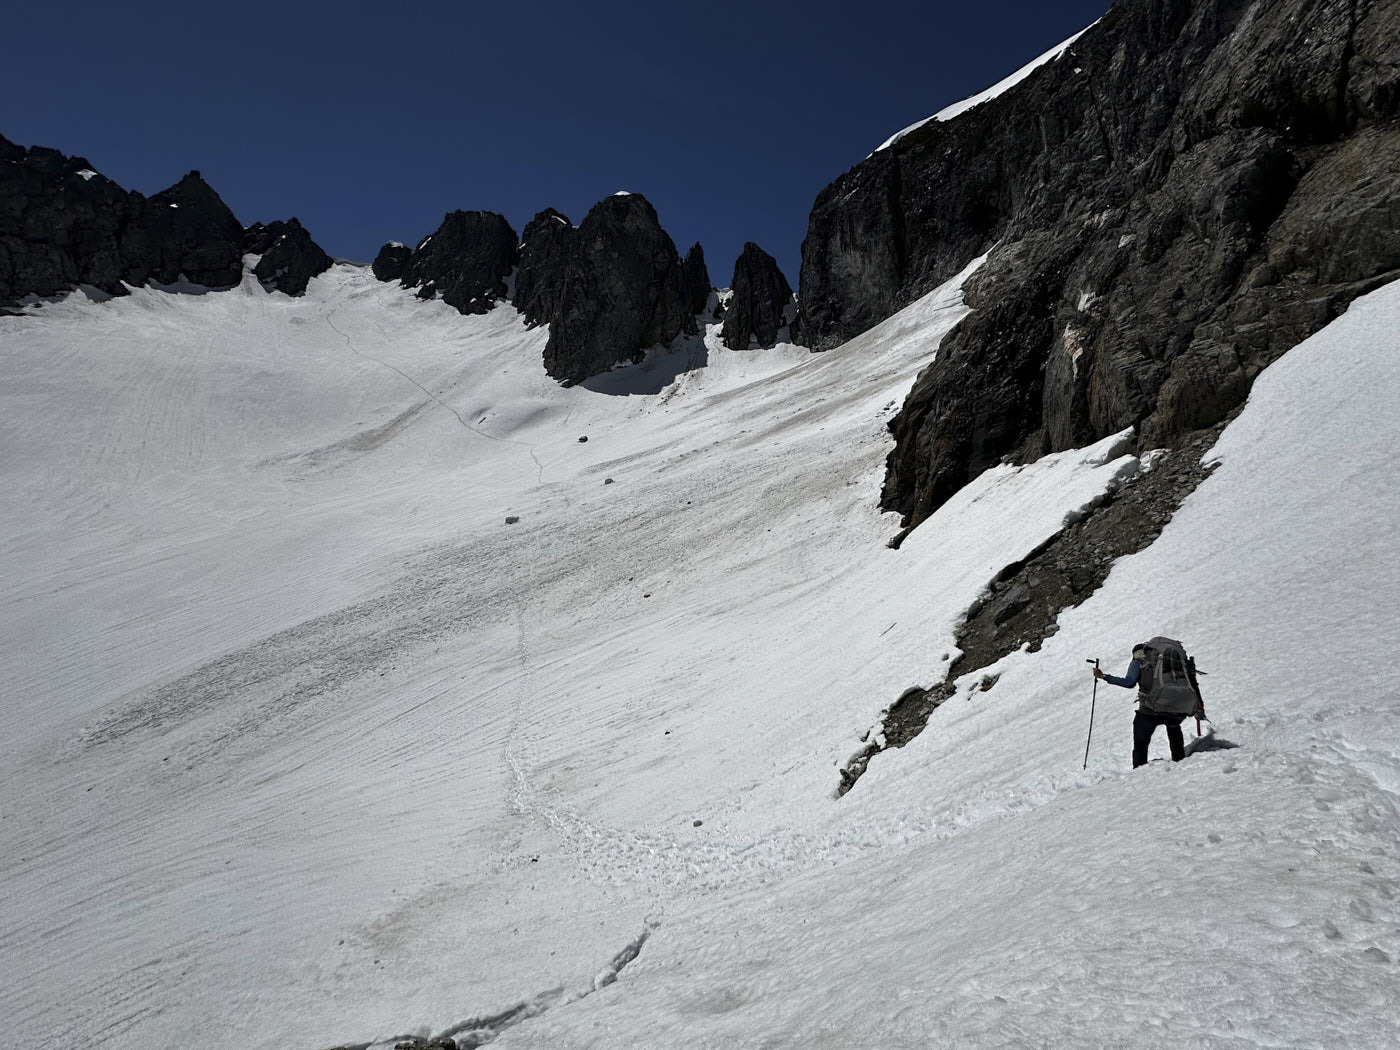
We then did a tedious sidehill traverse to get onto the Middle Cascade Glacier, where we roped up. The lower glacier formed impressive and violent-looking icefalls, but we would be crossing the much less crevassed upper glacier.
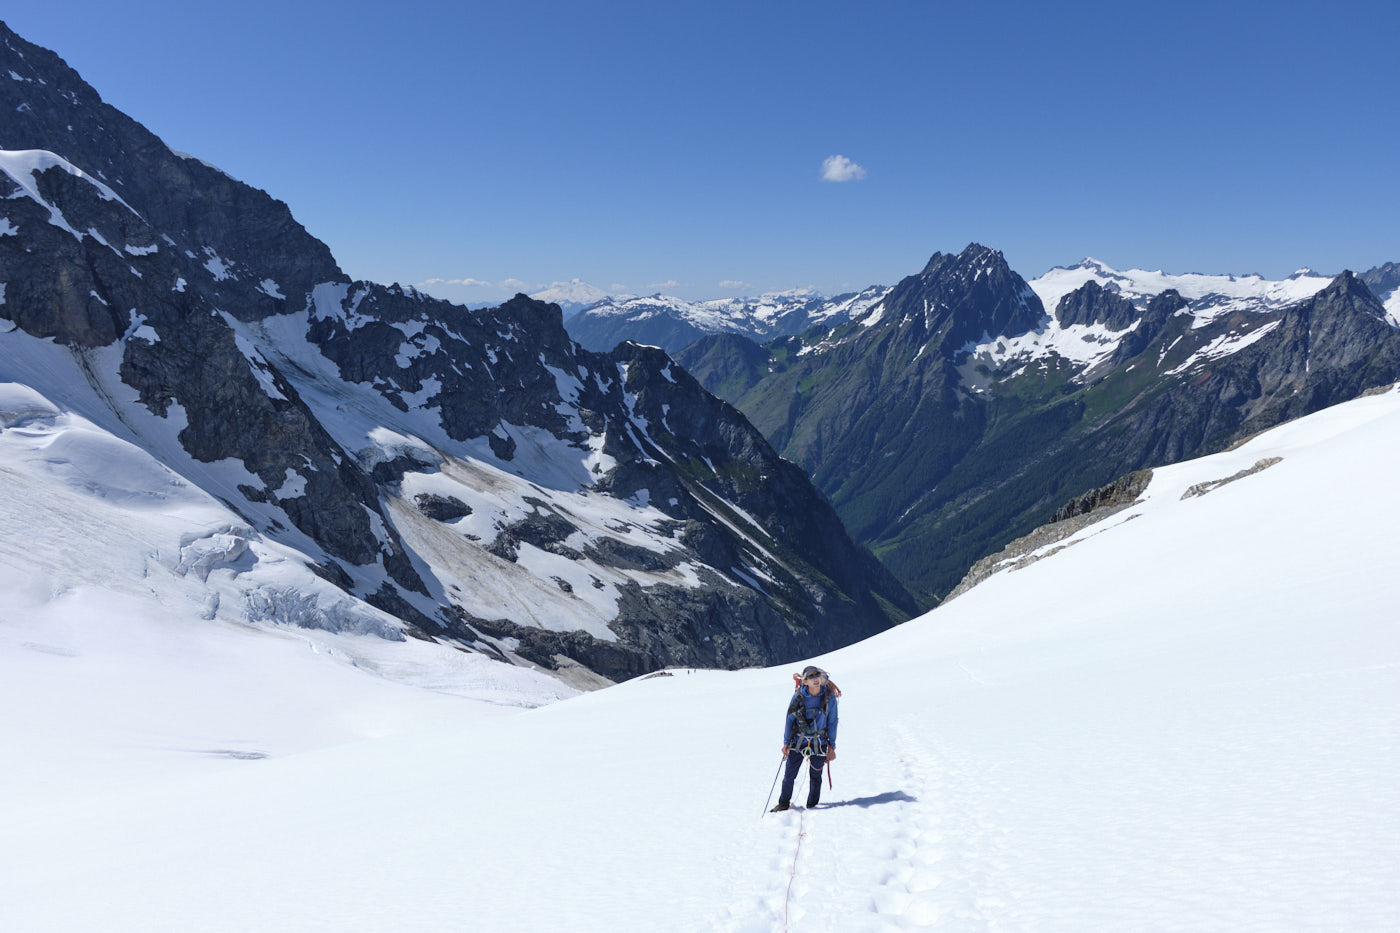
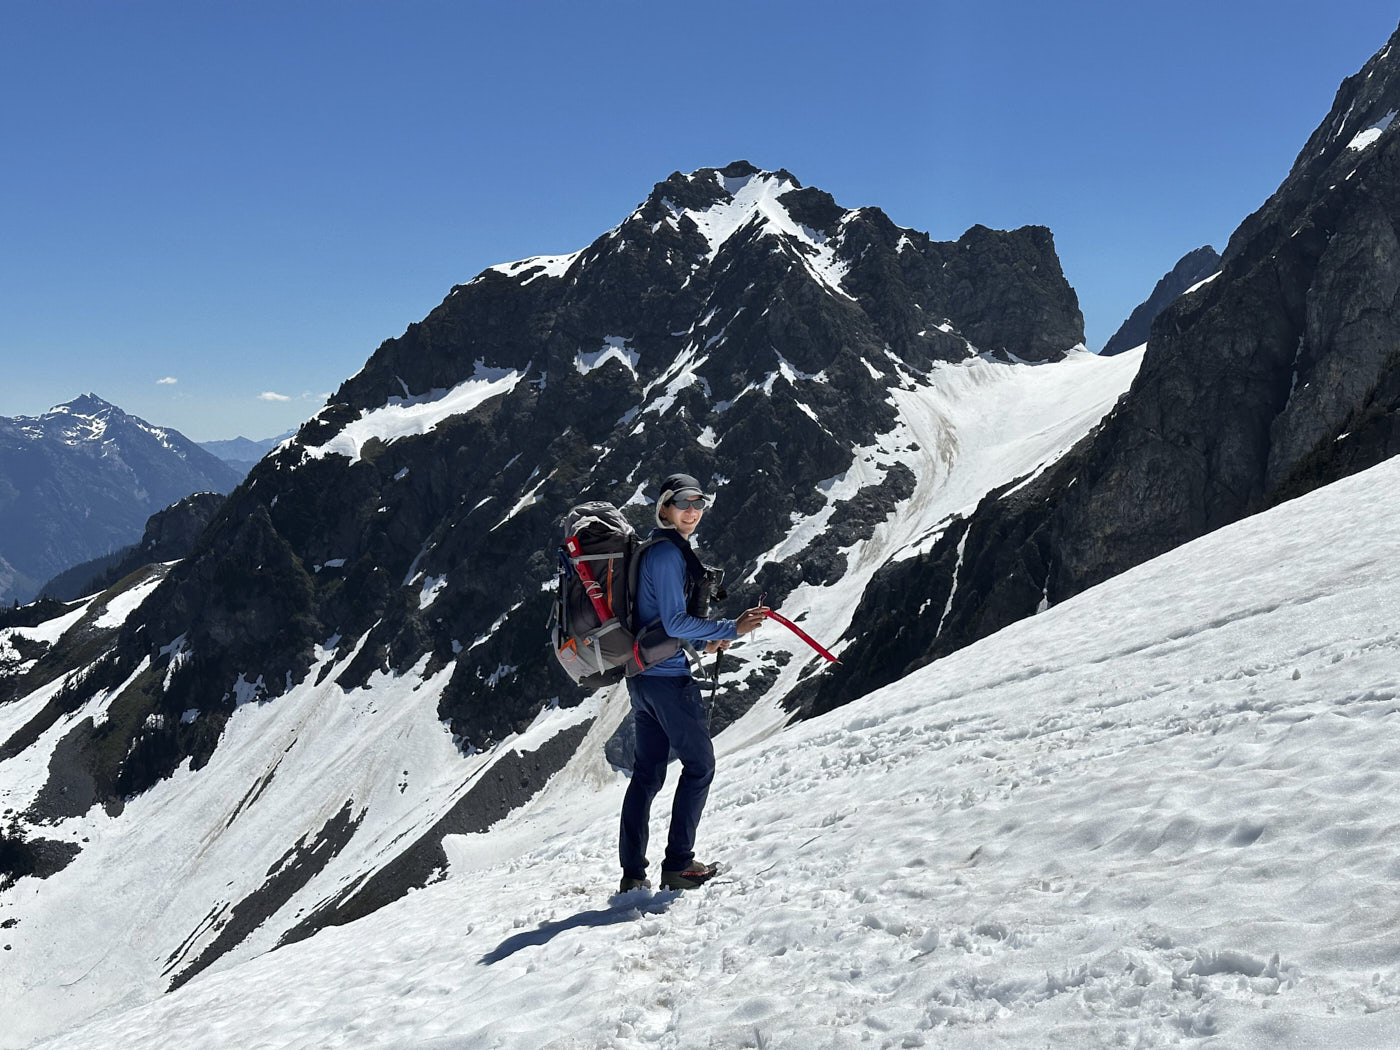
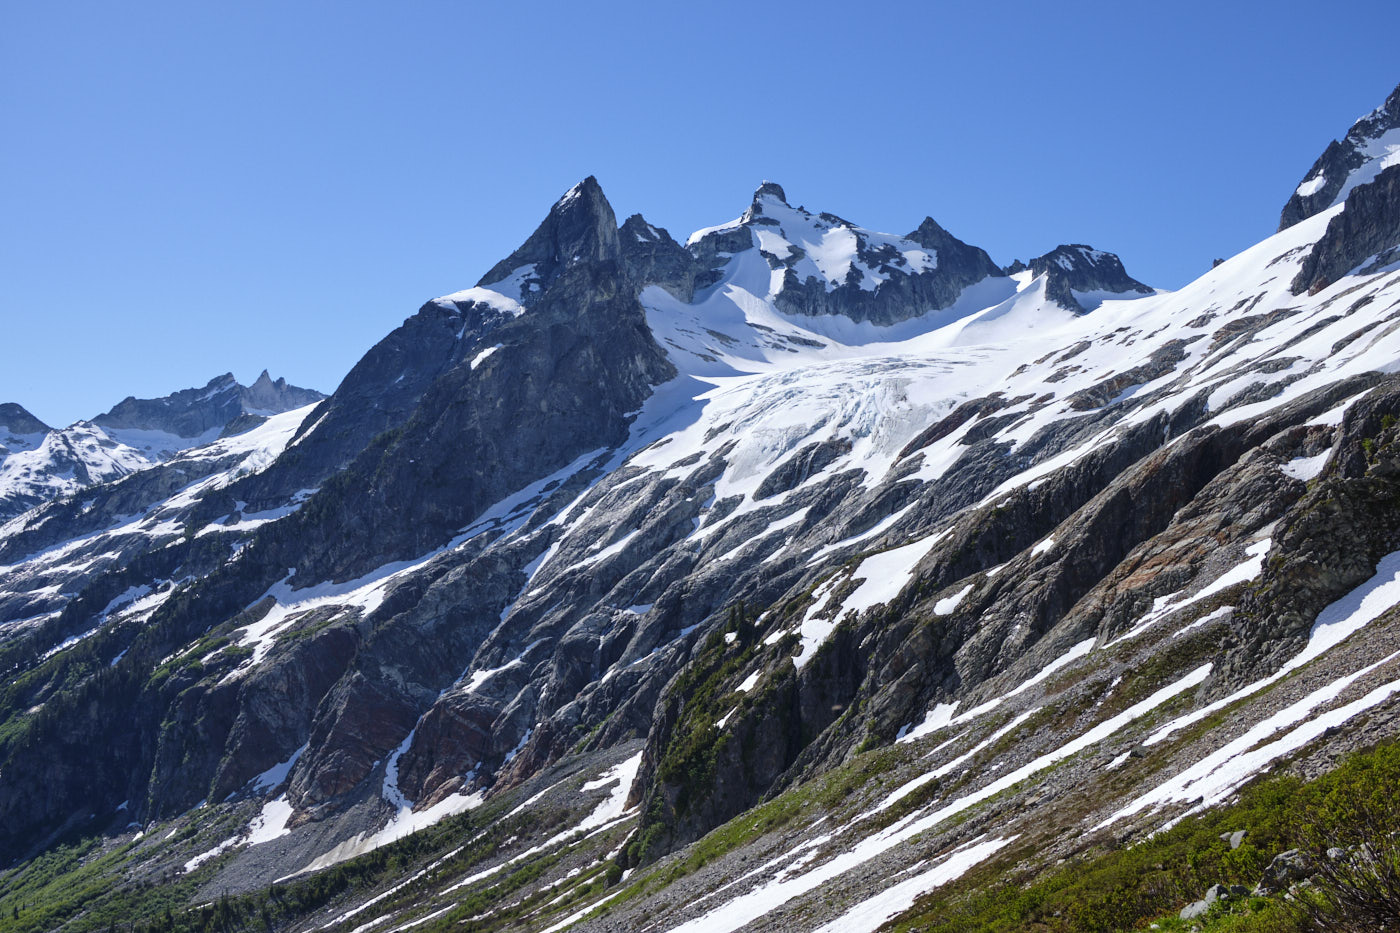
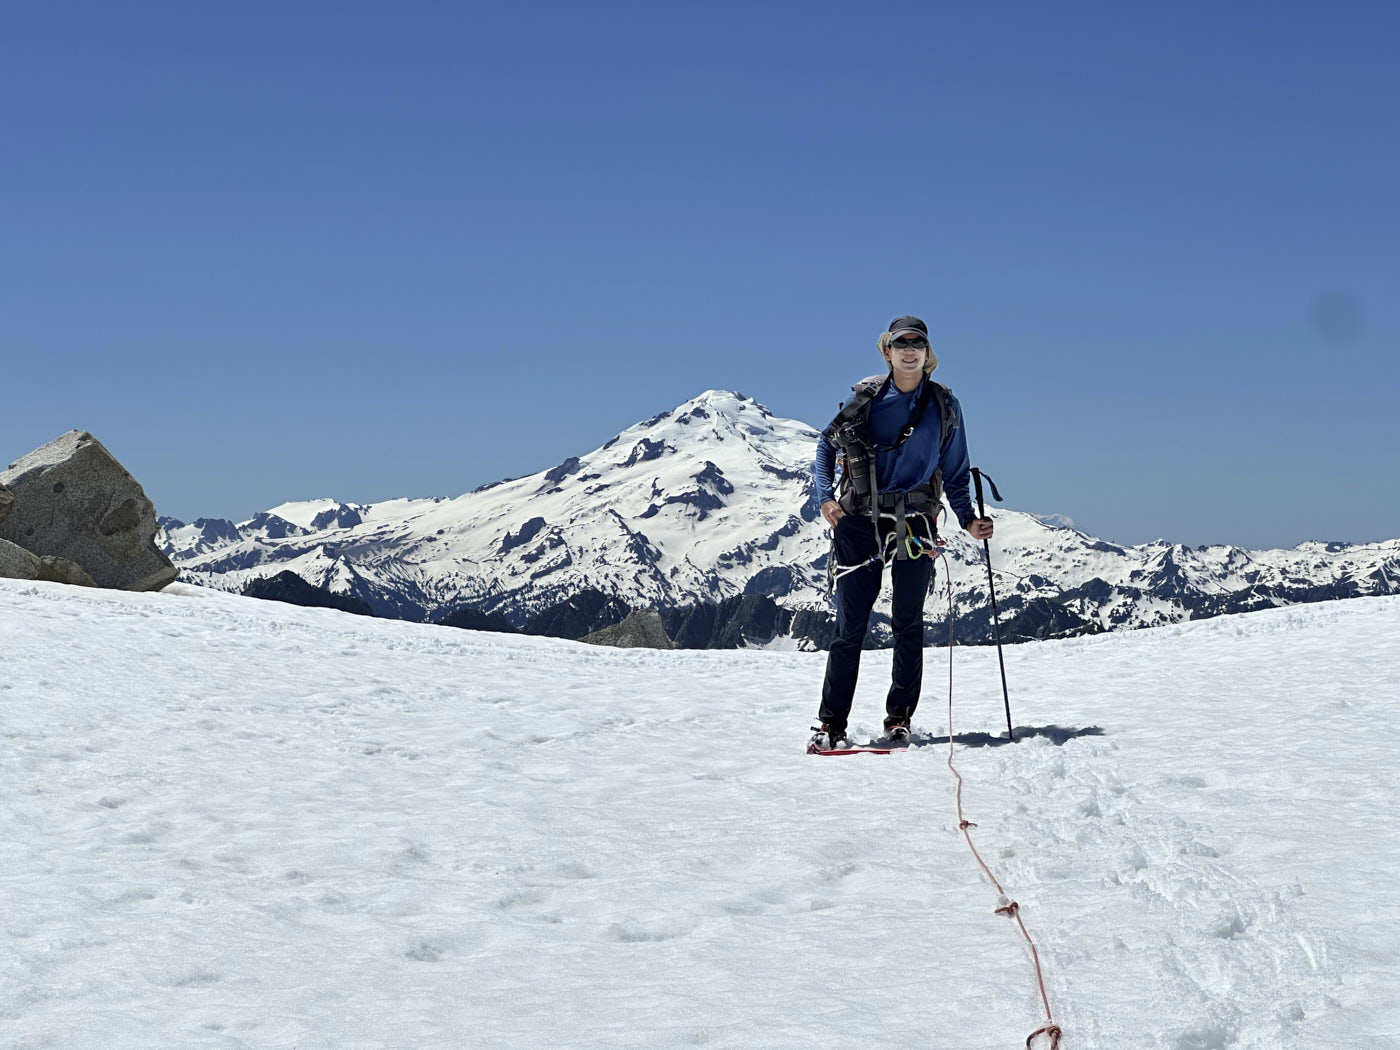
Ascending Middle Casade Glacier below Mount Formidable. Baker, Shuksan, Johannesburg, and Eldorado are visible in the background.
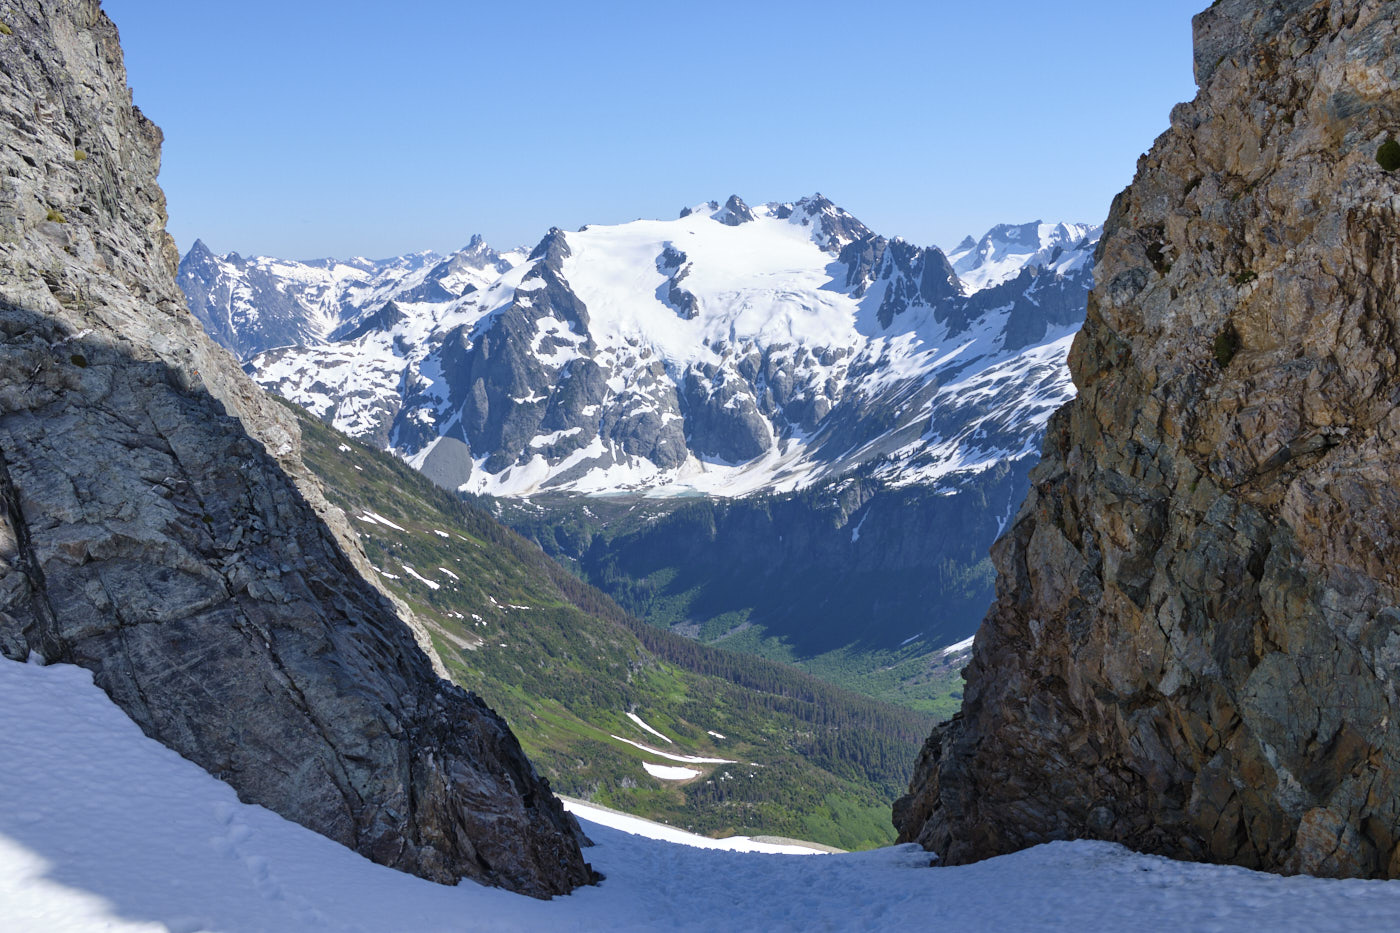
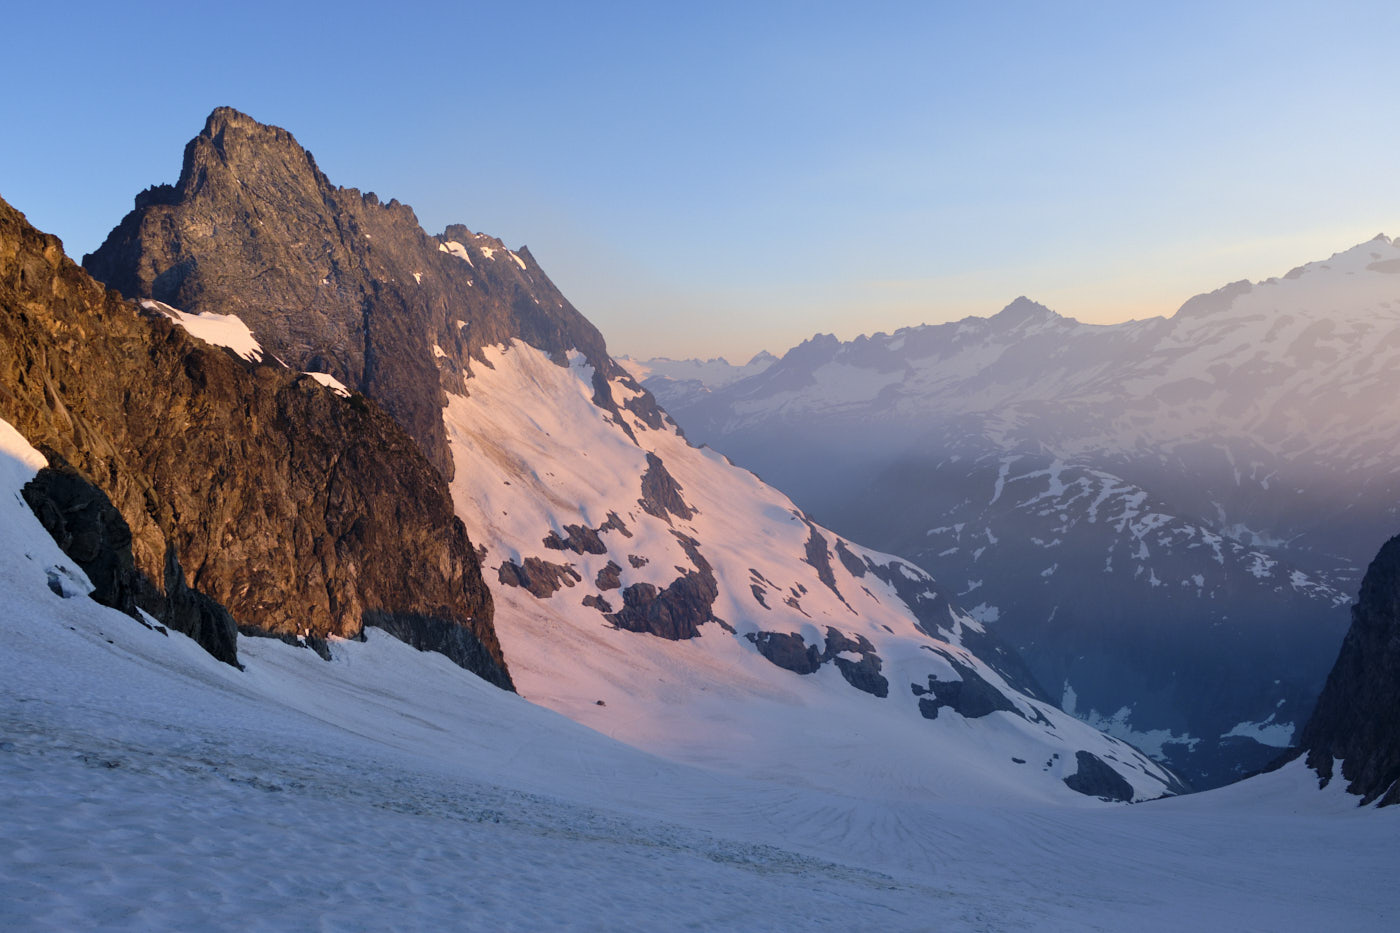
At the top of the Middle Cascade was the Spider-Formidable col, where we were greeted with an amazing view of the Sentinel massif. This is a recurring sequence on the Ptarmigan:
- A sidehilling traverse, followed by
- a long ascent up a glacier, leading to
- an improbable non-technical window through an intimidating ridge, revealing
- a stunning view of the next sidehill, glacier, and ridge!
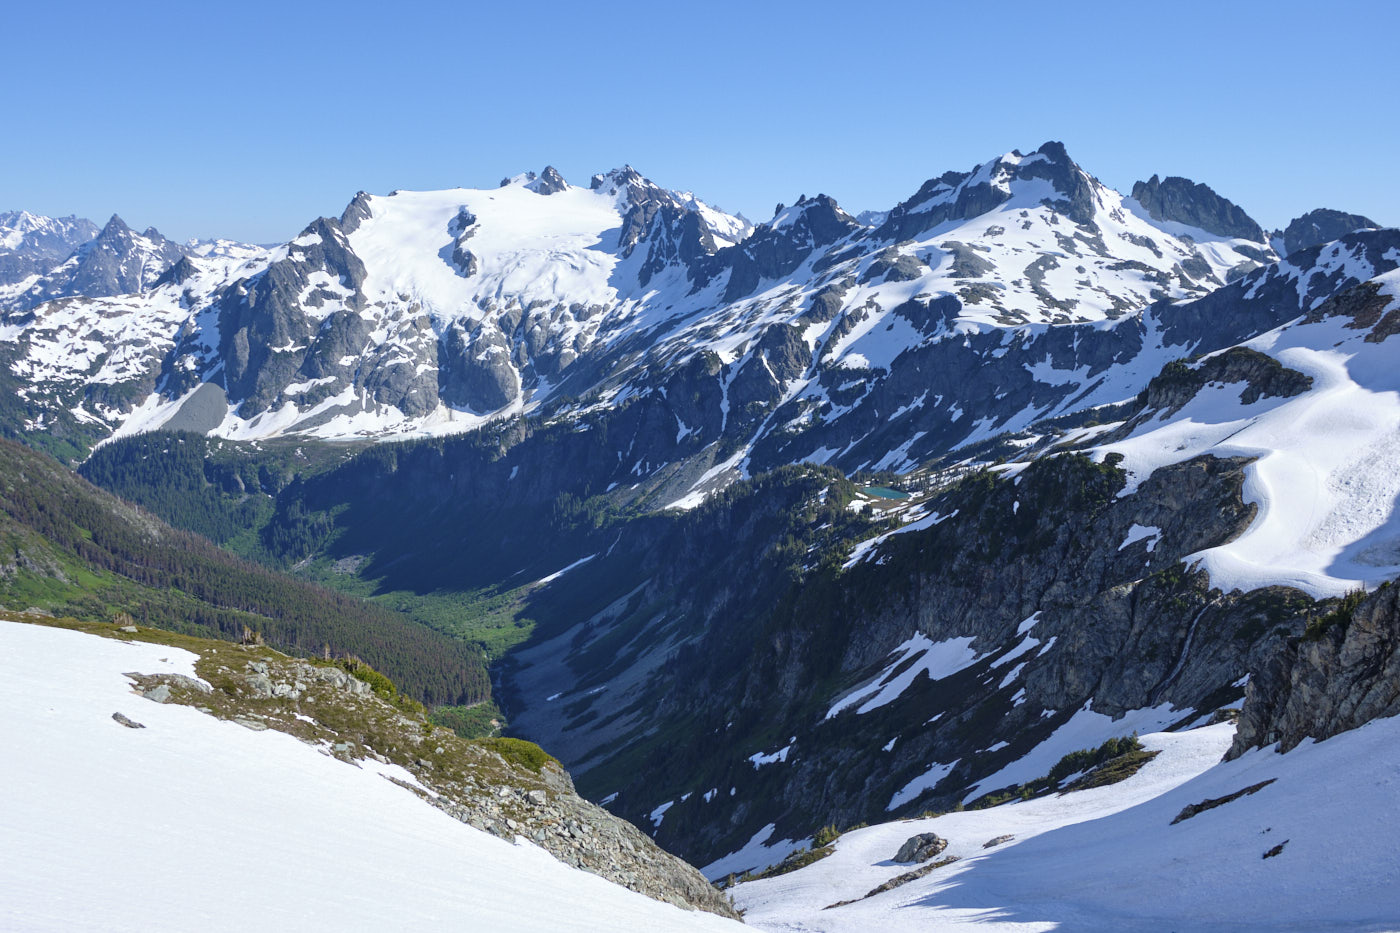
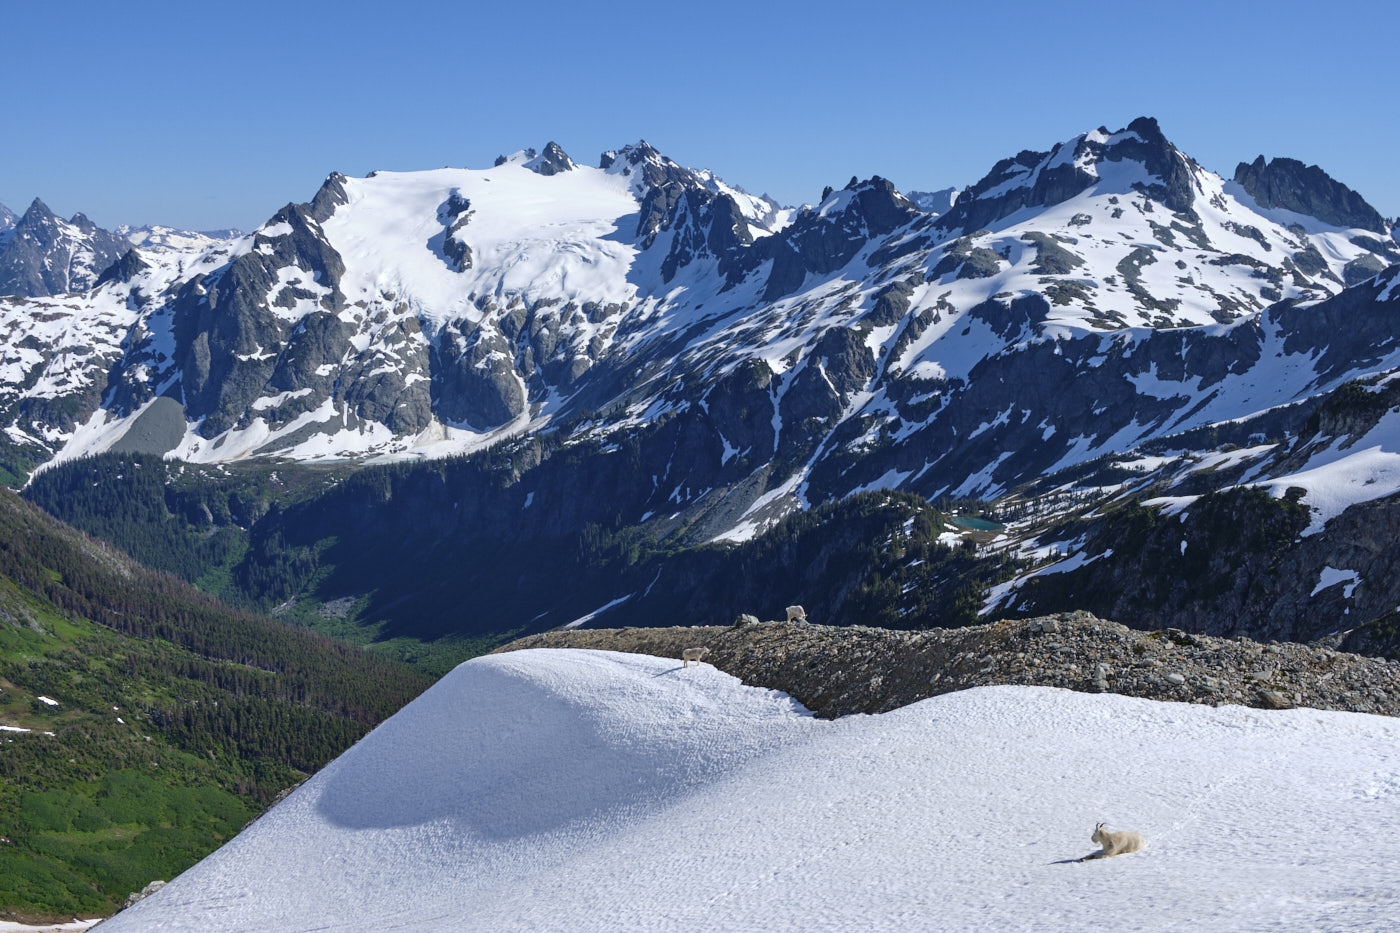
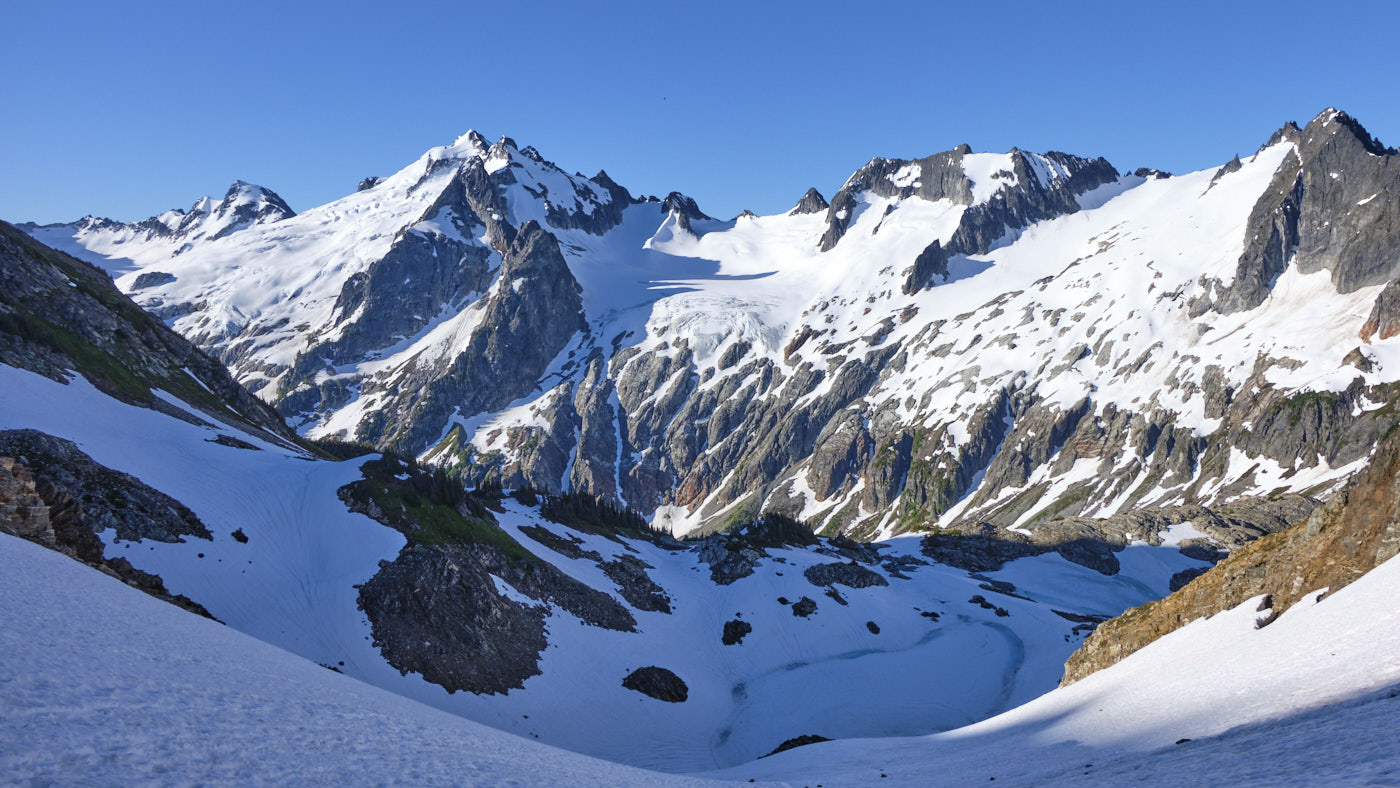
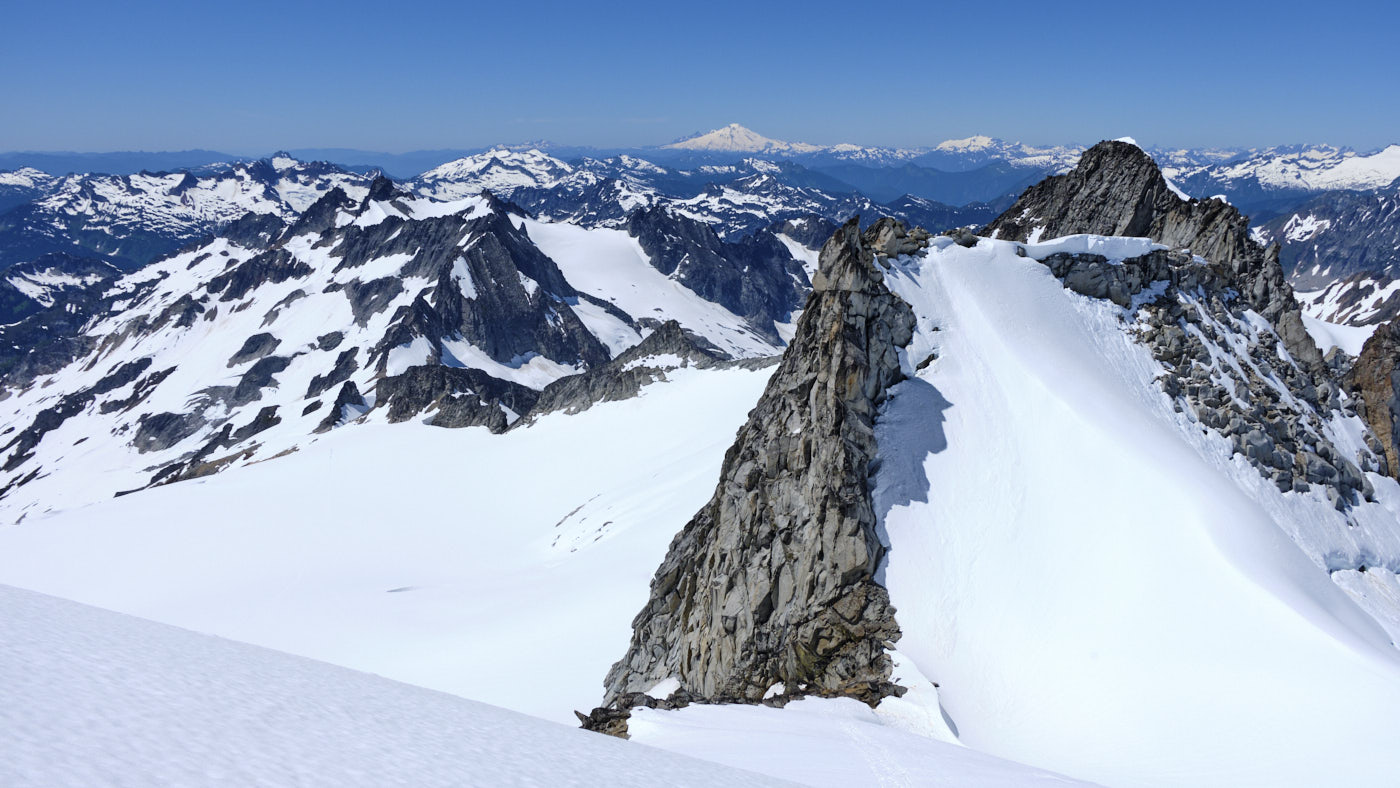
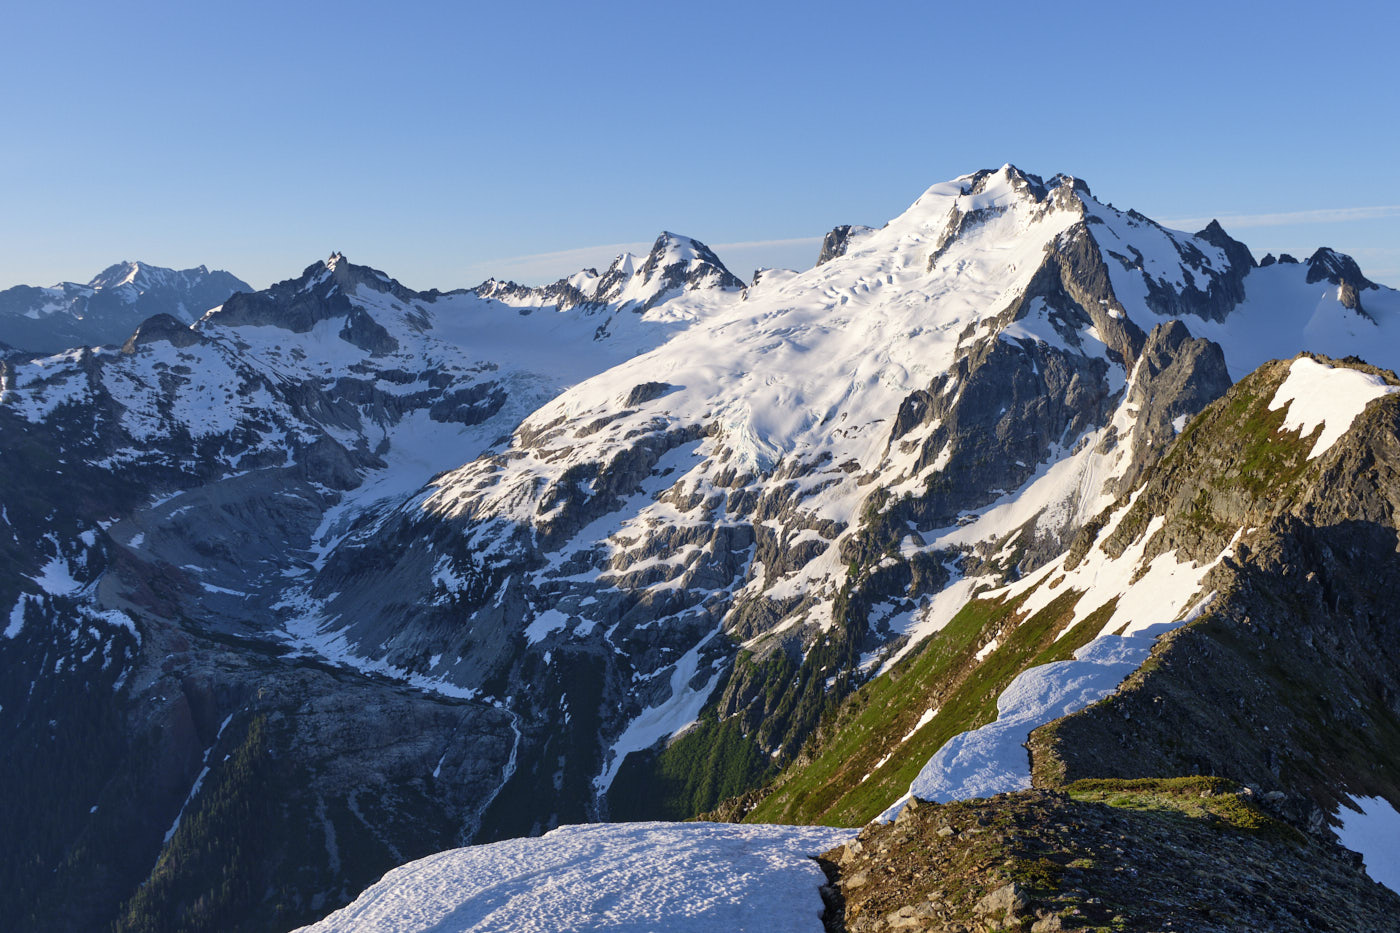
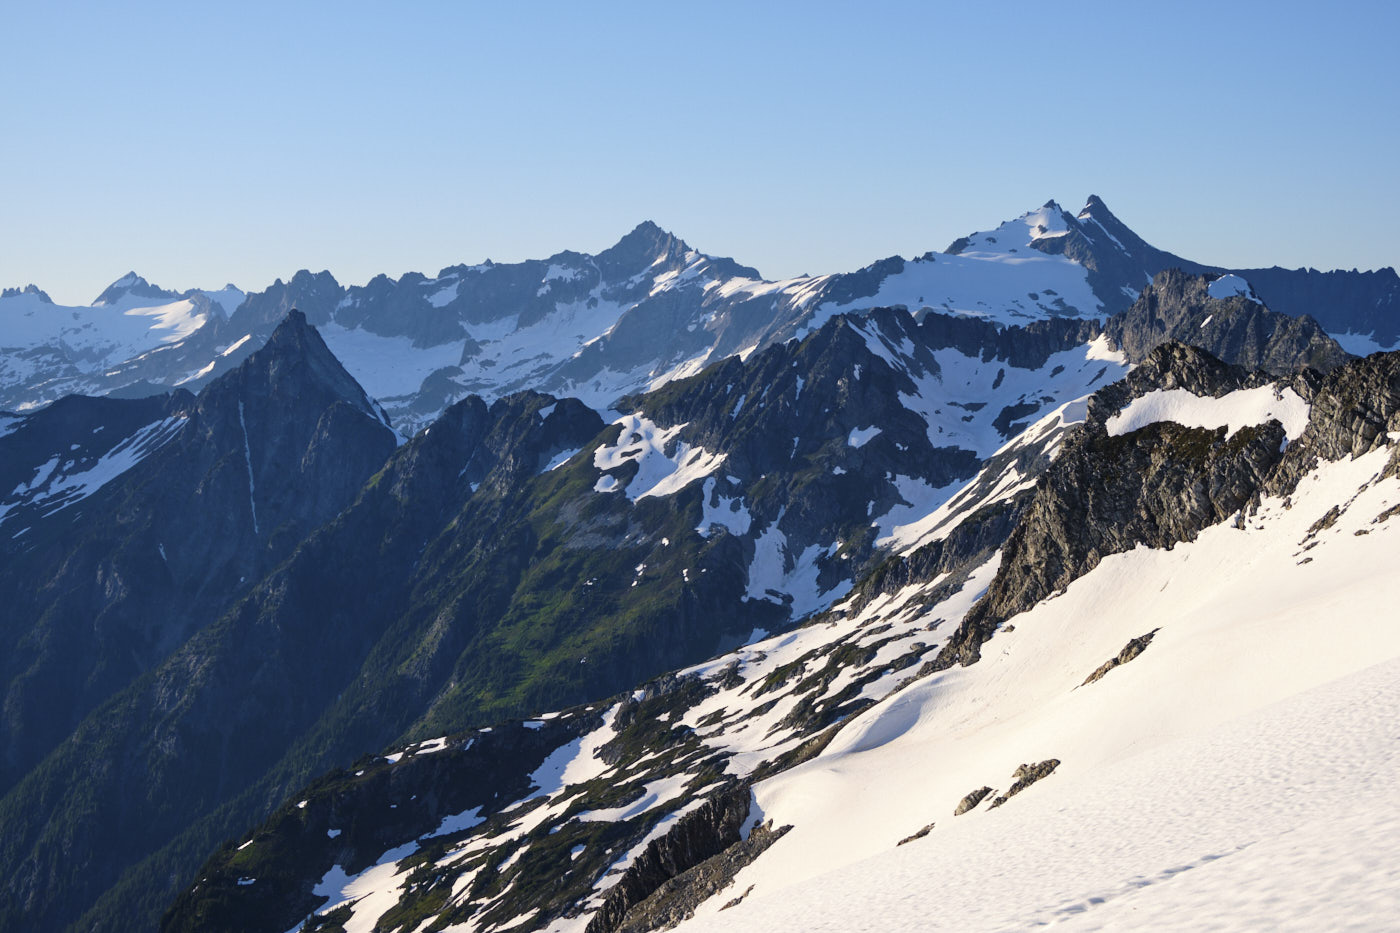
A fuller view of the route ahead, which traverses the slopes on the right. Our next stop, Yang Yang Lakes, can be seen center-right.
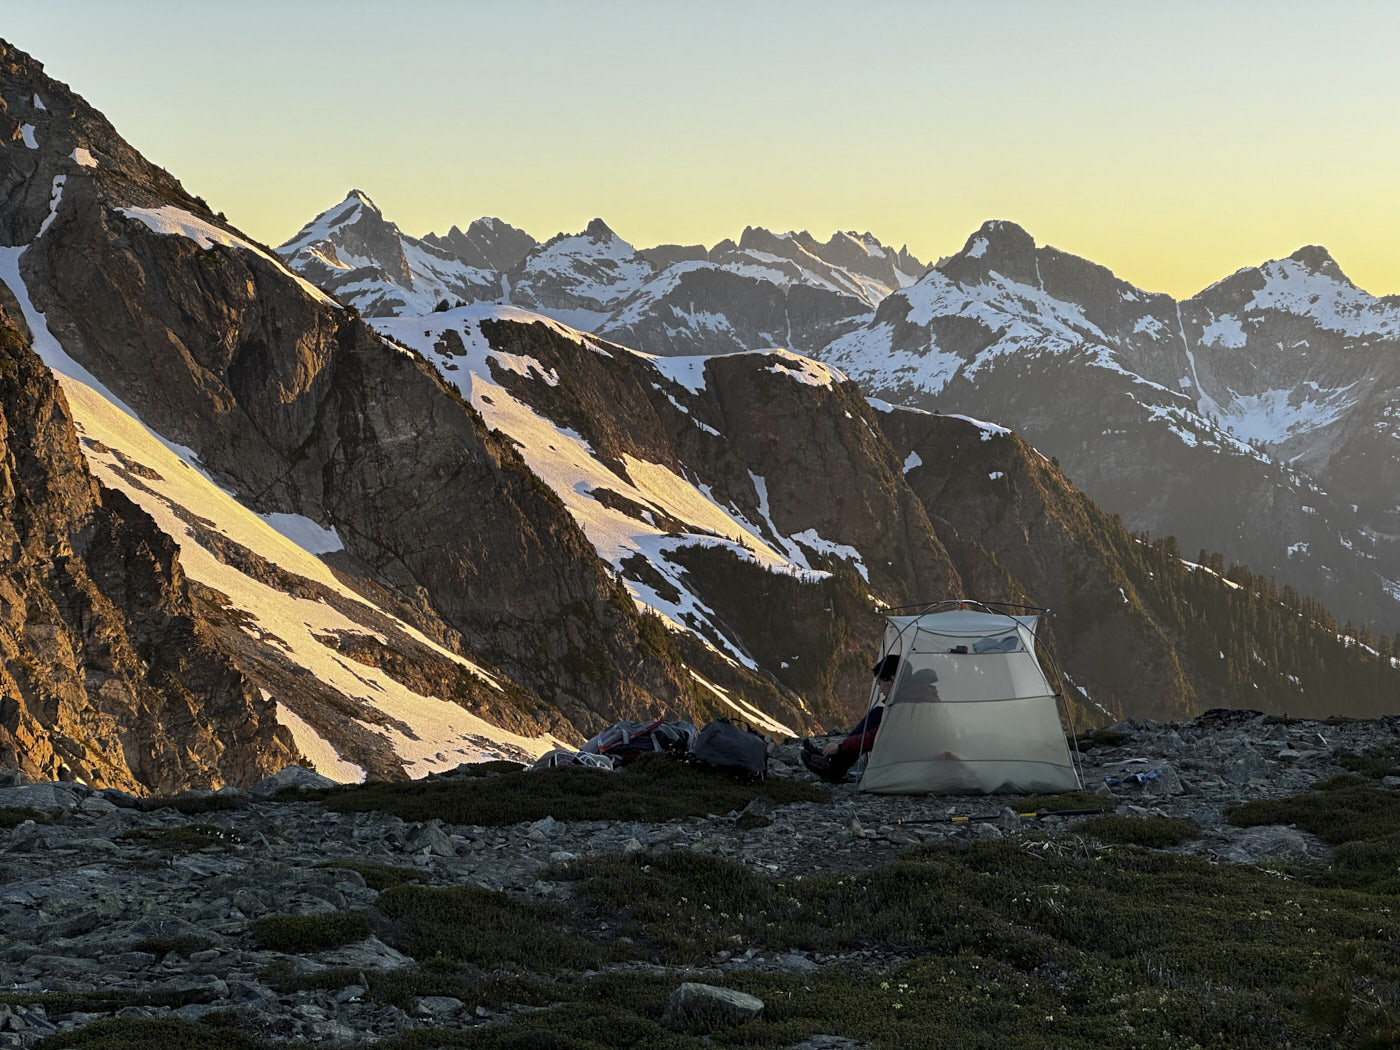
Our goal for the day was Yang Yang Lakes, but since we had some energy to spare and wanted to shorten our second day, we pushed another thousand vertical feet to the ridge above, where we found a wonderfully scenic campsite.
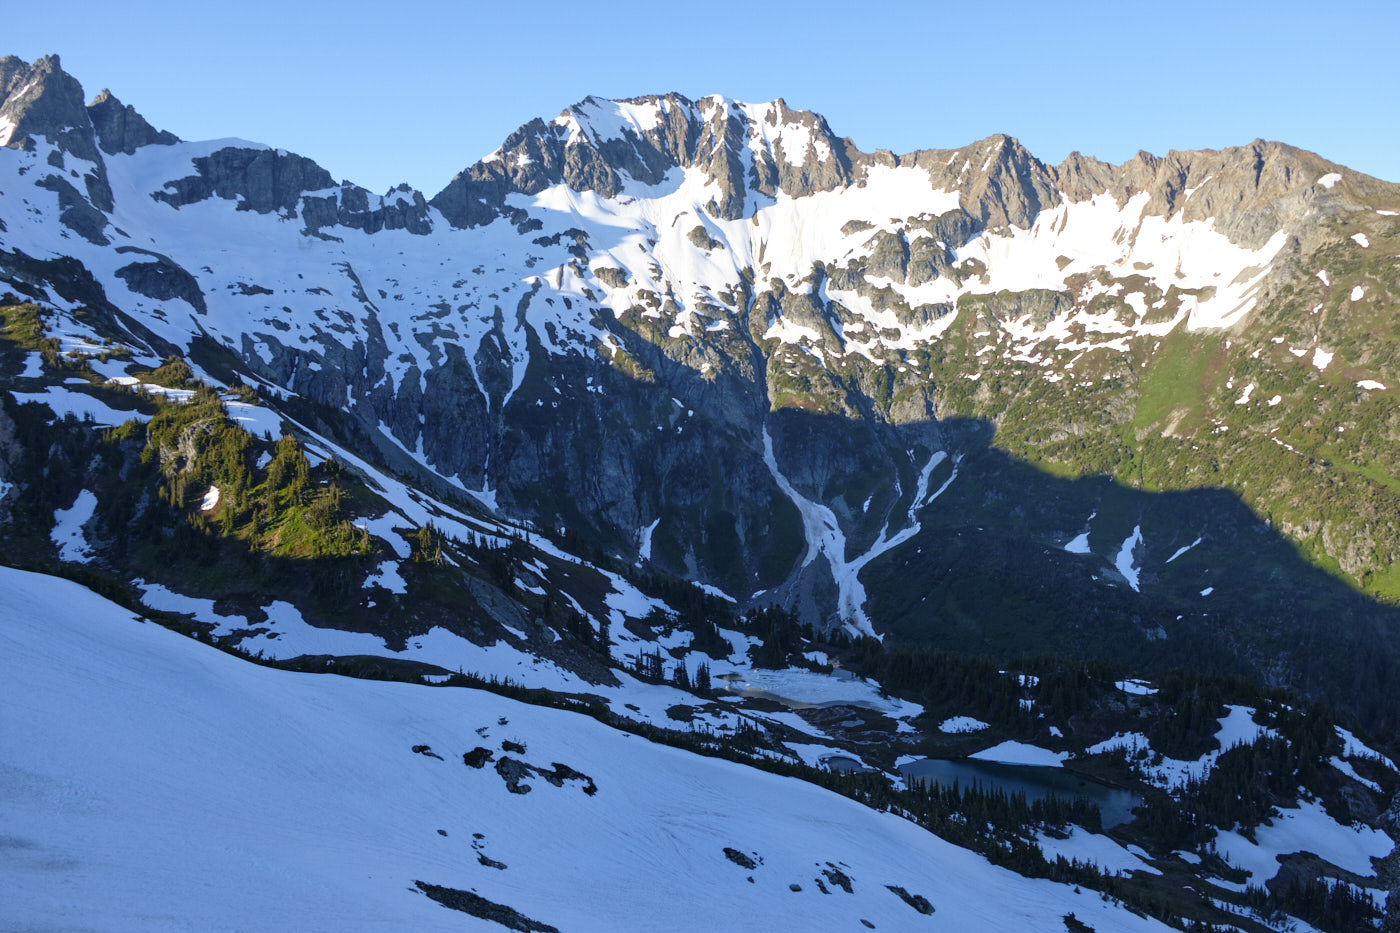
Looking back towards Spider Mountain, from above Yang Yang Lakes. The Spider-Formidable col is the low point on the ridge, left of center.
Day 2: “Yang Yang Ridge” to White Rock Lakes + Dome Peak attempt
Stats: 14.1 miles, 5.6k feet elevation gain
Most of the peaks adjacent to the Ptarmigan Traverse are sufficiently remote such that the traverse itself is the easiest way to approach them. Climbers often choose to take the Ptarmigan at a slower pace, climbing many peaks along the way. But Tim and I had our hearts set on only one of them: Dome Peak.
Dome is one of the great mountains of Washington, described by Beckey as “a massive Gothic structure, chiseled from a granitic intrusion… This magnificent fortress of glaciers and monolithic rock forms the centerpiece of the Cascade crest region N of Glacier Peak.” It is a landmark that’s visible from many Cascadian summits, and its remoteness makes it even more of a prized objective.
Our plan for the second day was to move camp to White Rock Lakes in order to stage an attempt on Dome. We were on the move before sunrise. After some typical sidehilling, we ascended the Le Conte Glacier on Sentinel Peak. The Le Conte is the most crevassed glacier on the standard Ptarmigan and we made sure to rope up.
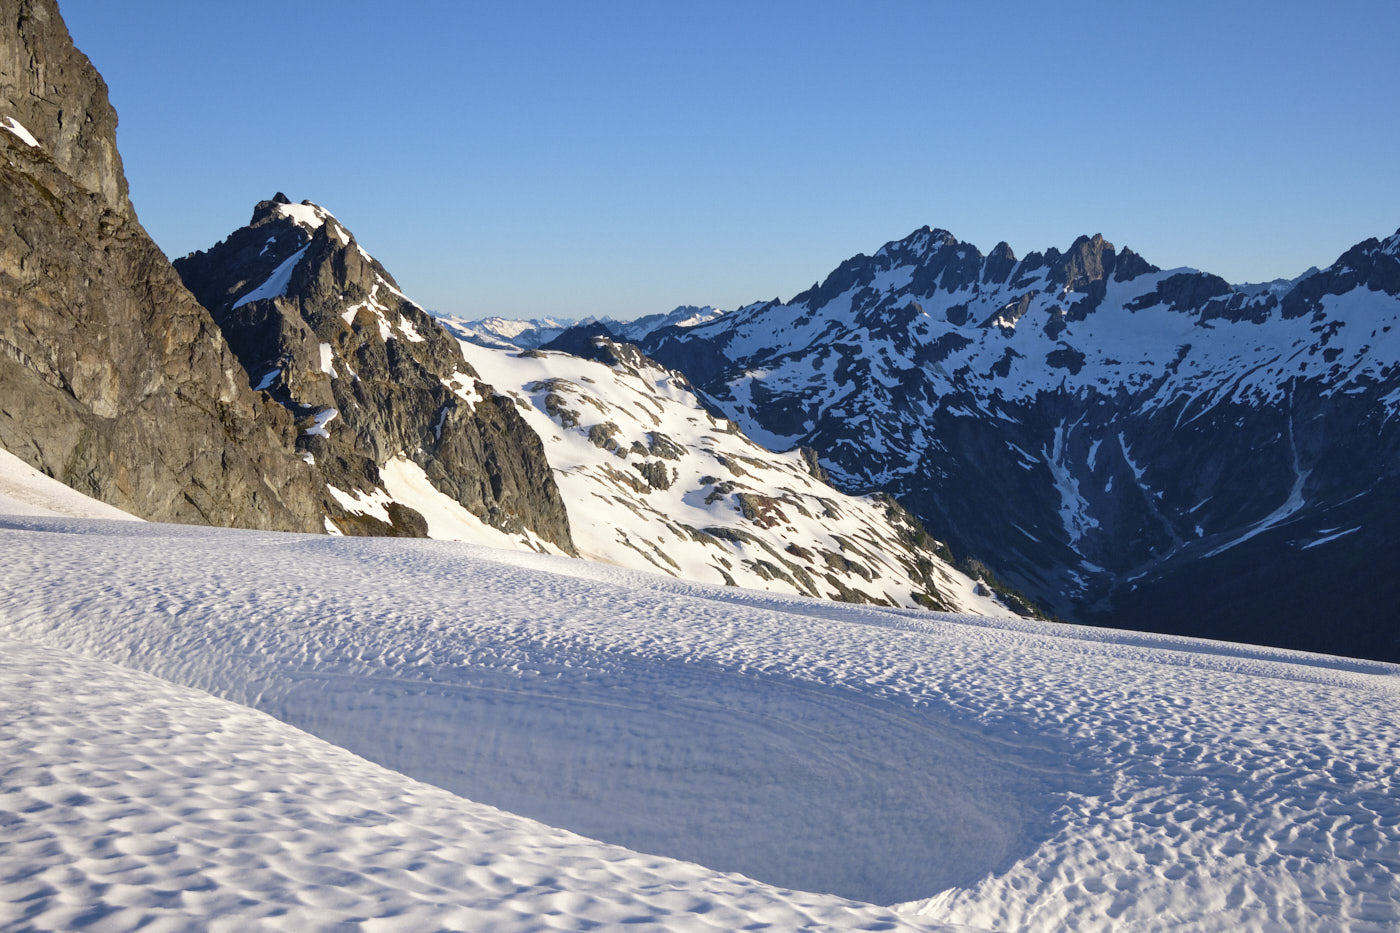
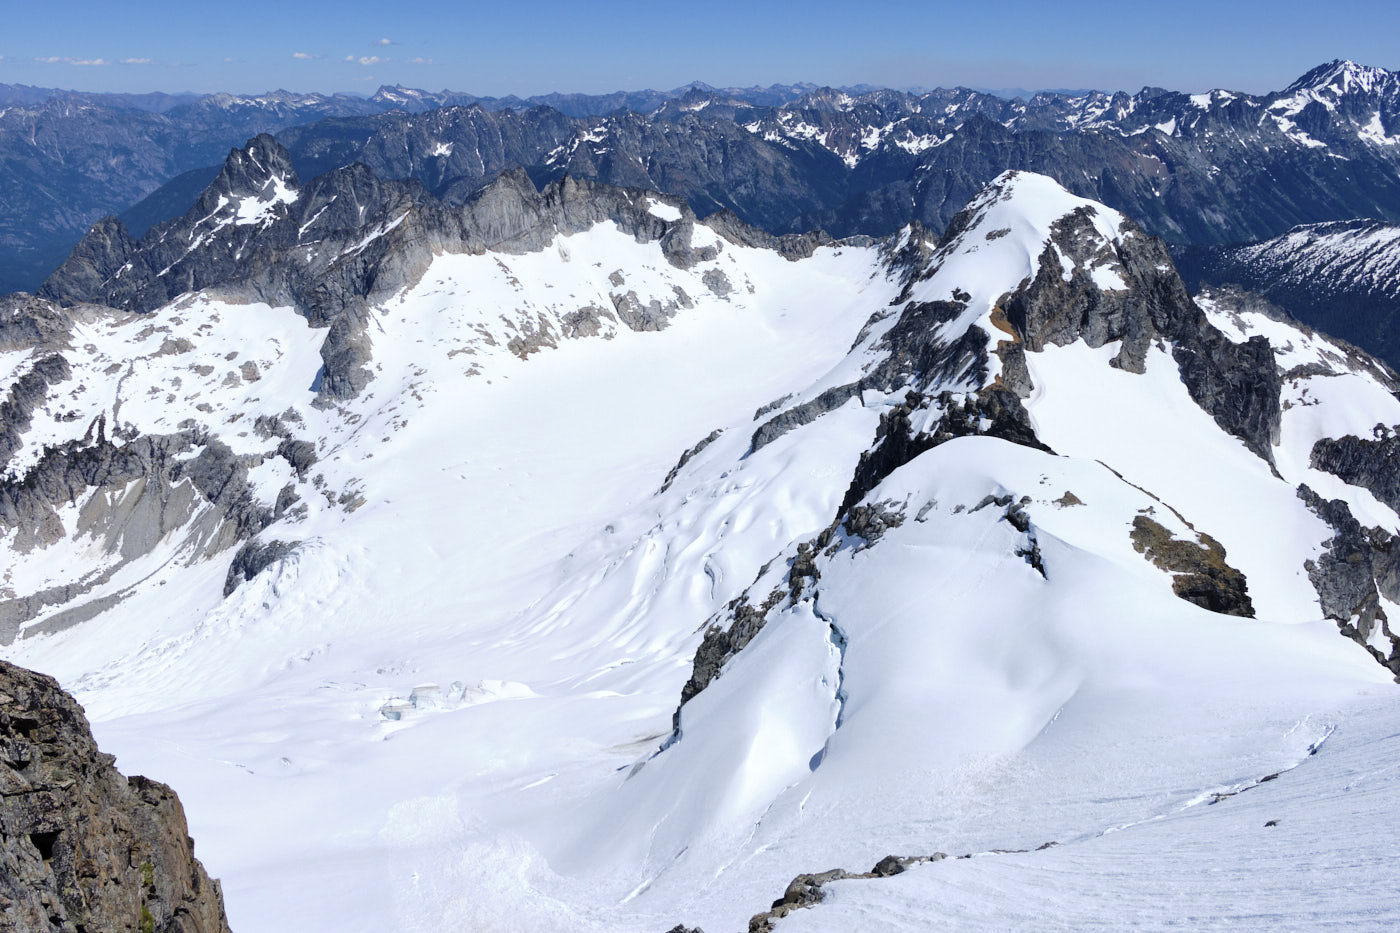
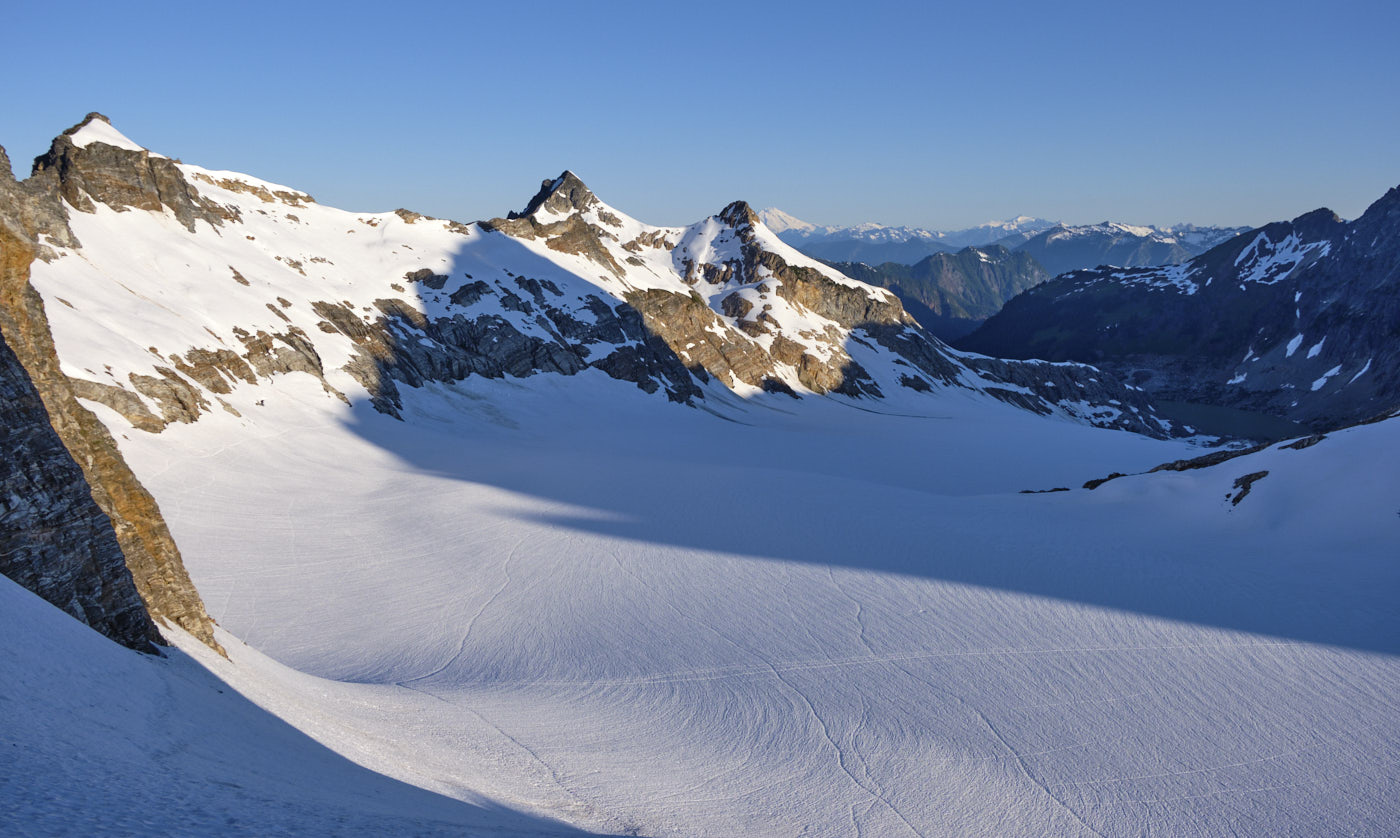
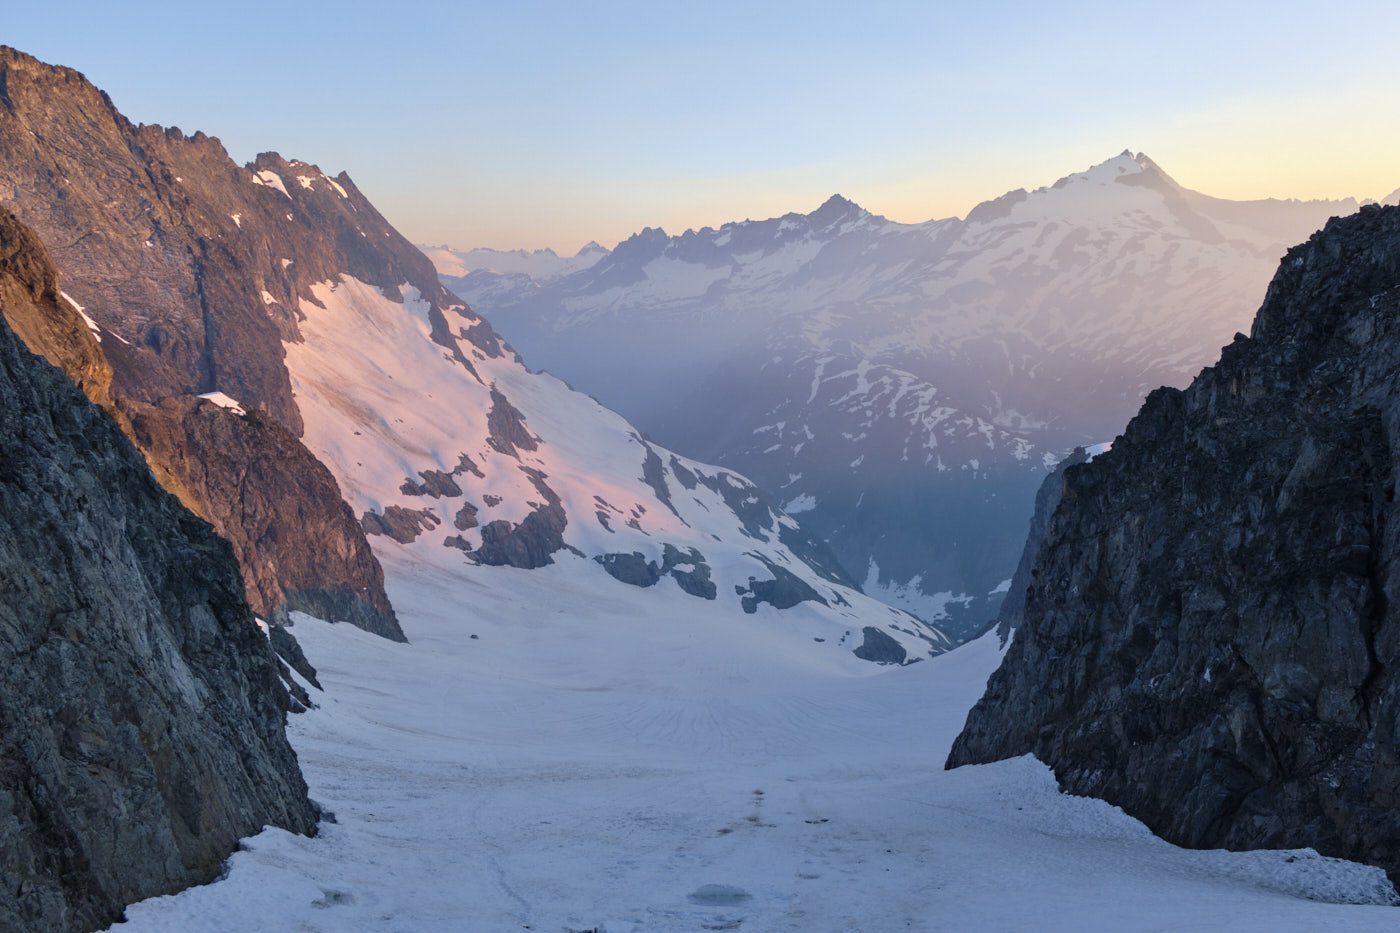
We then wrapped around Sentinel Peak and crossed the South Cascade Glacier. The South Cascade is a vast and flat, one of the rare valley glaciers in the state. (I have a picture of it in Day 3.)
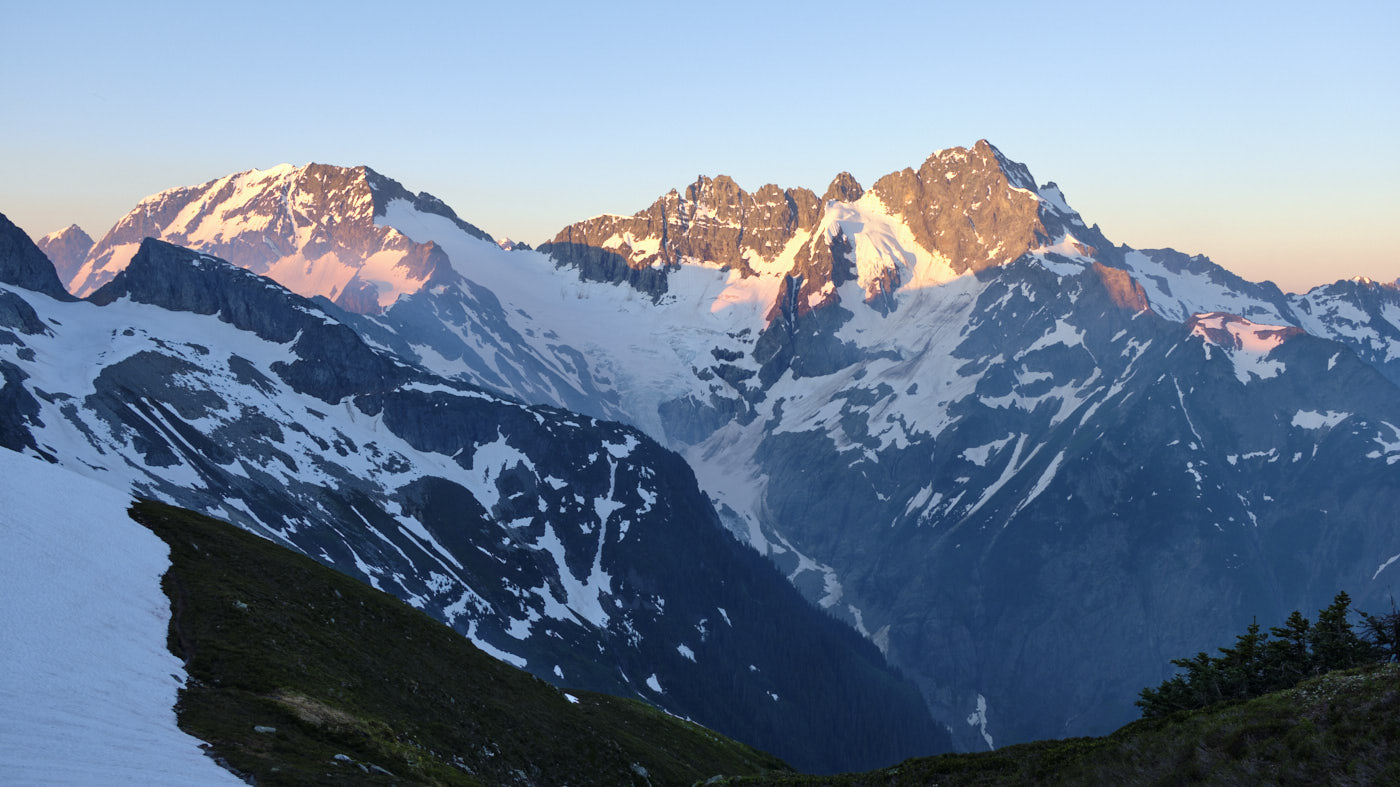
After crossing the South Cascade, we ascended to Lizard Col where we finally got our first view of the Dome massif. I had seen photos from this exact spot before, but they still didn’t prepare me for the magnificence of the real-life setting. I think I could stare at that mountain forever!
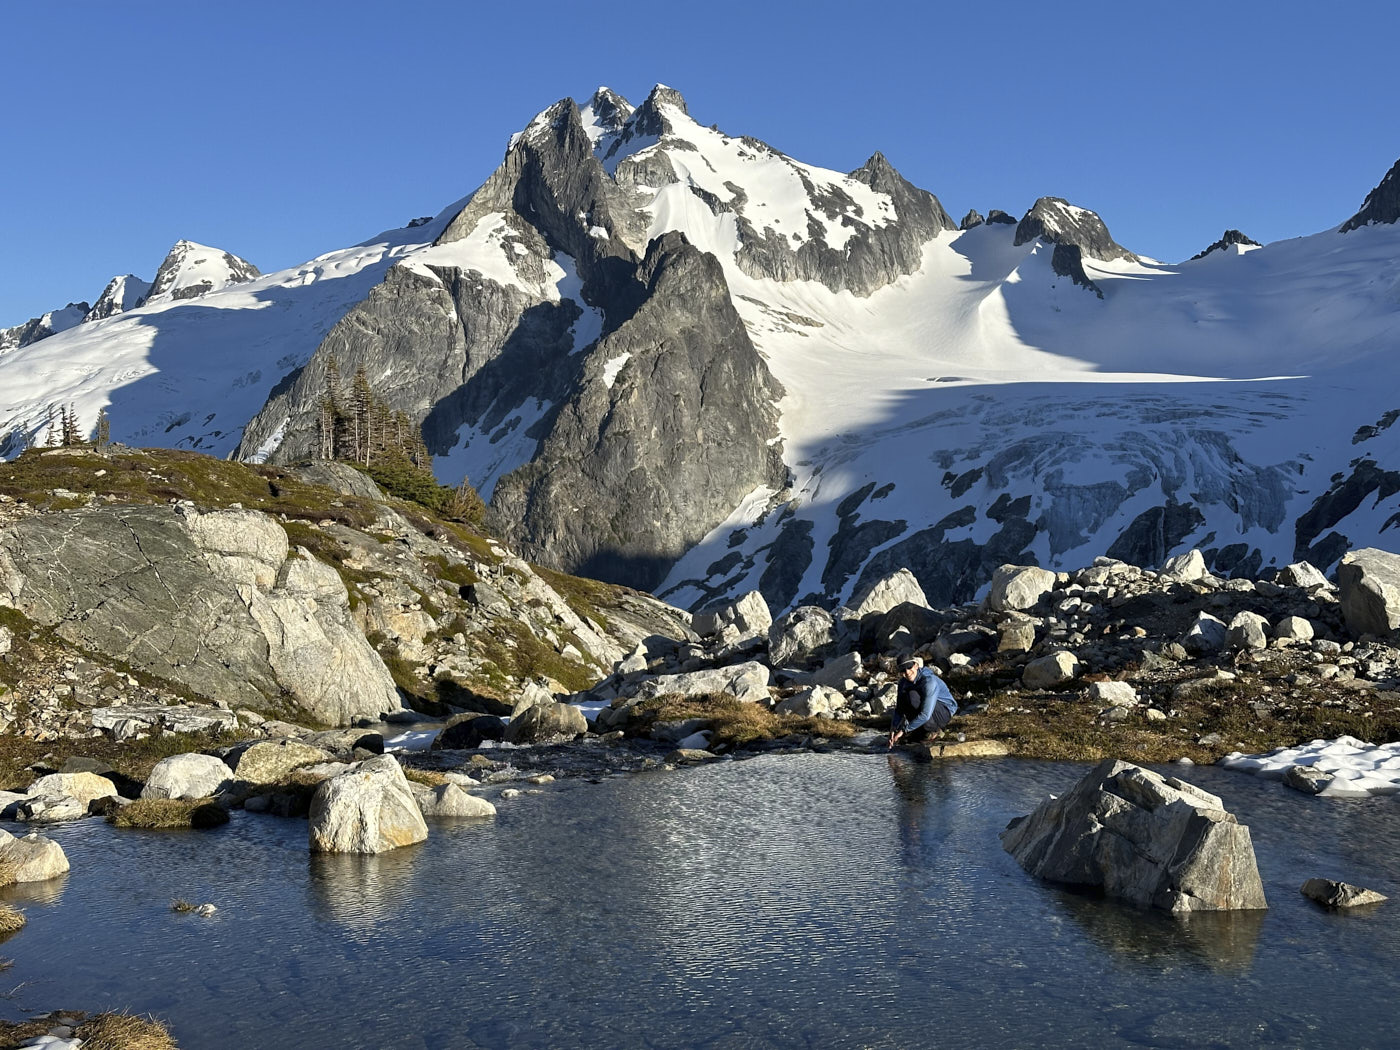
We plunged-stepped down a steep snow slope to White Rock Lakes, which has a reputation as the most scenic campsite in the state. Well, I’ve heard of several locations lay claim to that title, but I have to imagine that White Rock Lakes isn’t far from the top!
We setup our tent and threw our overnight gear inside to lighten our packs, and immediately set out towards Dome. After a lot of tedious sidehilling, we diverged from the standard Ptarmigan route to start plodding up the Dana Glacier. The sun was getting high in the sky by now, and we were really roasting on the glacier.
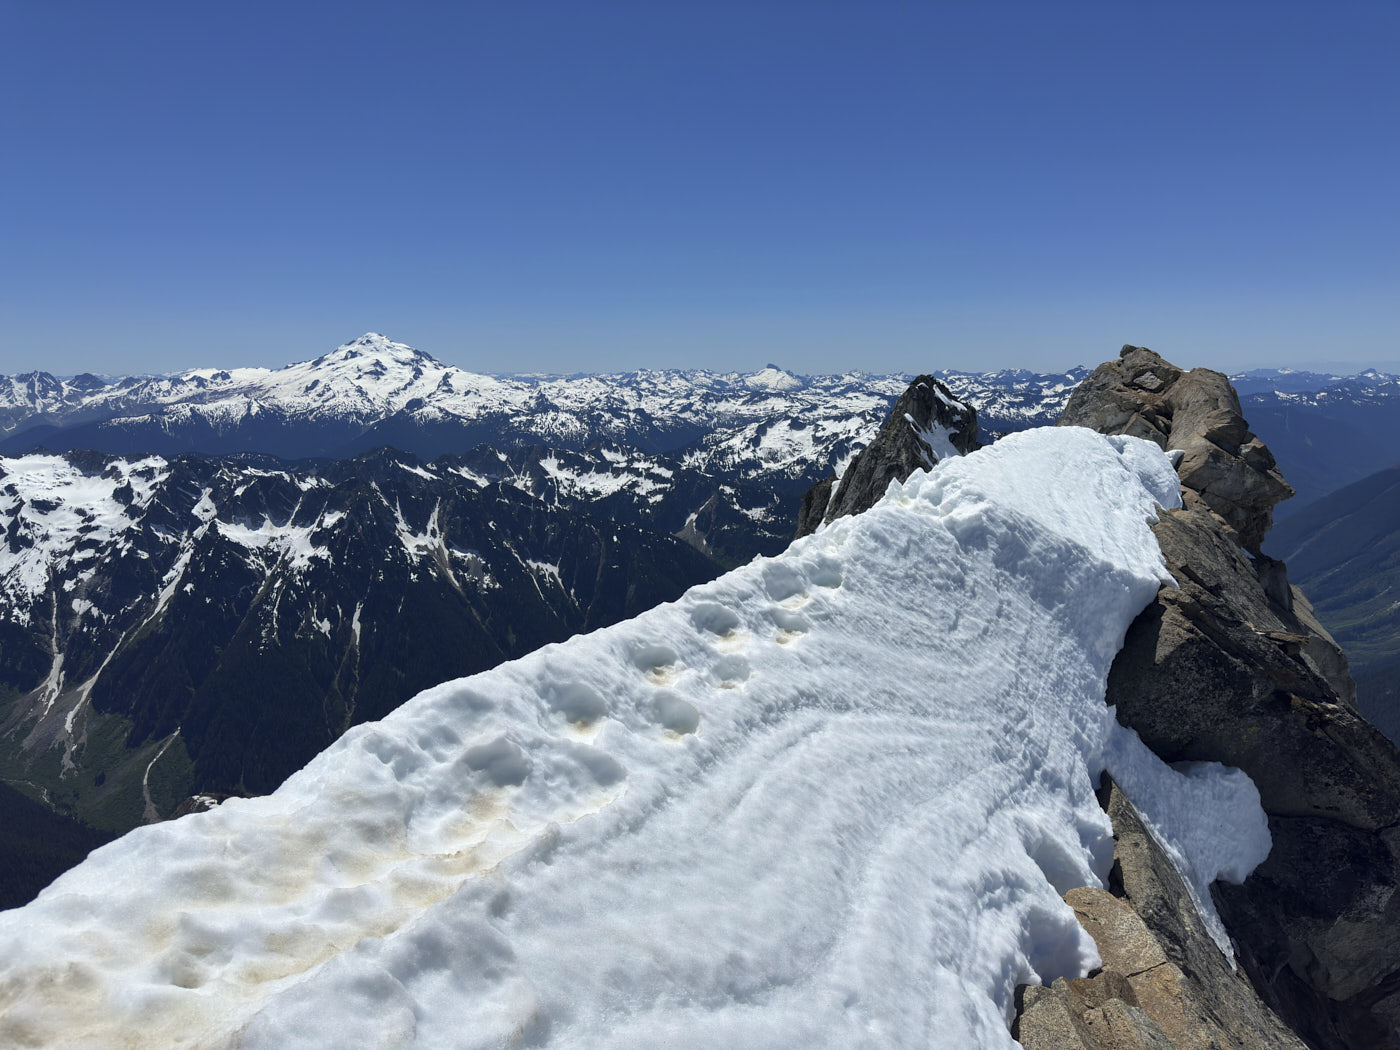
We got a great view of Glacier Peak after reaching Dana-Dome col, then slogged up the Dome Glacier. After reaching the summit ridge, we found a dozen yards of knife-edged cornice separating us from the summit block, dropping off hundreds of feet on both sides.
It was a bit disappointing to turn around so close to the summit, but we quickly agreed that it simply wasn’t worth the risk. I guess we’ll have to return another time! The summit ridge should be much more doable a couple weeks later in the season, after the snow has melted.
We retraced our steps down Dome, stopping to admire the expansive views across the North Cascades and Glacier Peak Wilderness. The mid-day light was pretty harsh, though, and I have to imagine it would be absolutely stunning to camp up here.
Back at White Rock Lakes, we took some time to enjoy “the best campsite in the state,” chatted with a couple other groups doing the traverse, and watched another beautiful sunset.
Day 3: White Rock Lakes to Kool-Aid Lake + Lizard Mountain
Stats: 11.0 miles, 4.8k feet elevation gain
The third and fourth days were forecasted to be really hot, so we decided on a strategy of hiking near dawn and dusk while resting mid-day. This strategy would save energy and avoid the mushiest snow conditions. Our morning goal was to get back to Yang Yang Lakes.
On the way, we decided to take a short detour to climb Lizard Mountain, which we ascended via the south ridge and descended via the west ridge. The climb is pretty straightforward, but somewhat loose class 2. The summit offered an awesome view of the Chikamin Glacier spilling off of Dome Peak.
We crossed back over the South Cascade Glacier, wrapped around Sentinel Peak, and descended the Le Conte Glacier towards Yang Yang Lakes. Although the route was the same, going in the opposite direction at a different time of day offered a new perspective.
It was already getting hot by the time we rolled into Yang Yang Lakes around 10am, and I was really glad to be taking a break. However, it proved to be very difficult to find a shady spot to setup the tent. Tim just ended up setting up the tent in the sun. That was too hot for me, though, so I eventually found a small shaded spot underneath a tree and laid down in the grass to nap.
A few hours later, I went for a walk around the lakes and stumbled across a grove of trees with a couple of perfectly shaded tent sites inside. In that moment, it felt like discovering the holy grail! I found Tim, who was still roasting in the sunny tent, and told him the good news. We moved the tent and had a much more comfortable rest for the remainder of the afternoon.
We determined that temperatures had cooled off enough around 6pm. We retraced the route back over Spider-Formidable col, down the Middle Cascade Glacier, and through the Red Ledges. We ended up having just enough light to navigate the final boulder fields by sight.

A new wildfire blowing up. Later we would learn it was the Pioneer Fire, one of the biggest of the season.
Day 4: Kool-Aid Lake to Cascade River Road
Stats: 9.4 miles, 1.0k feet elevation gain
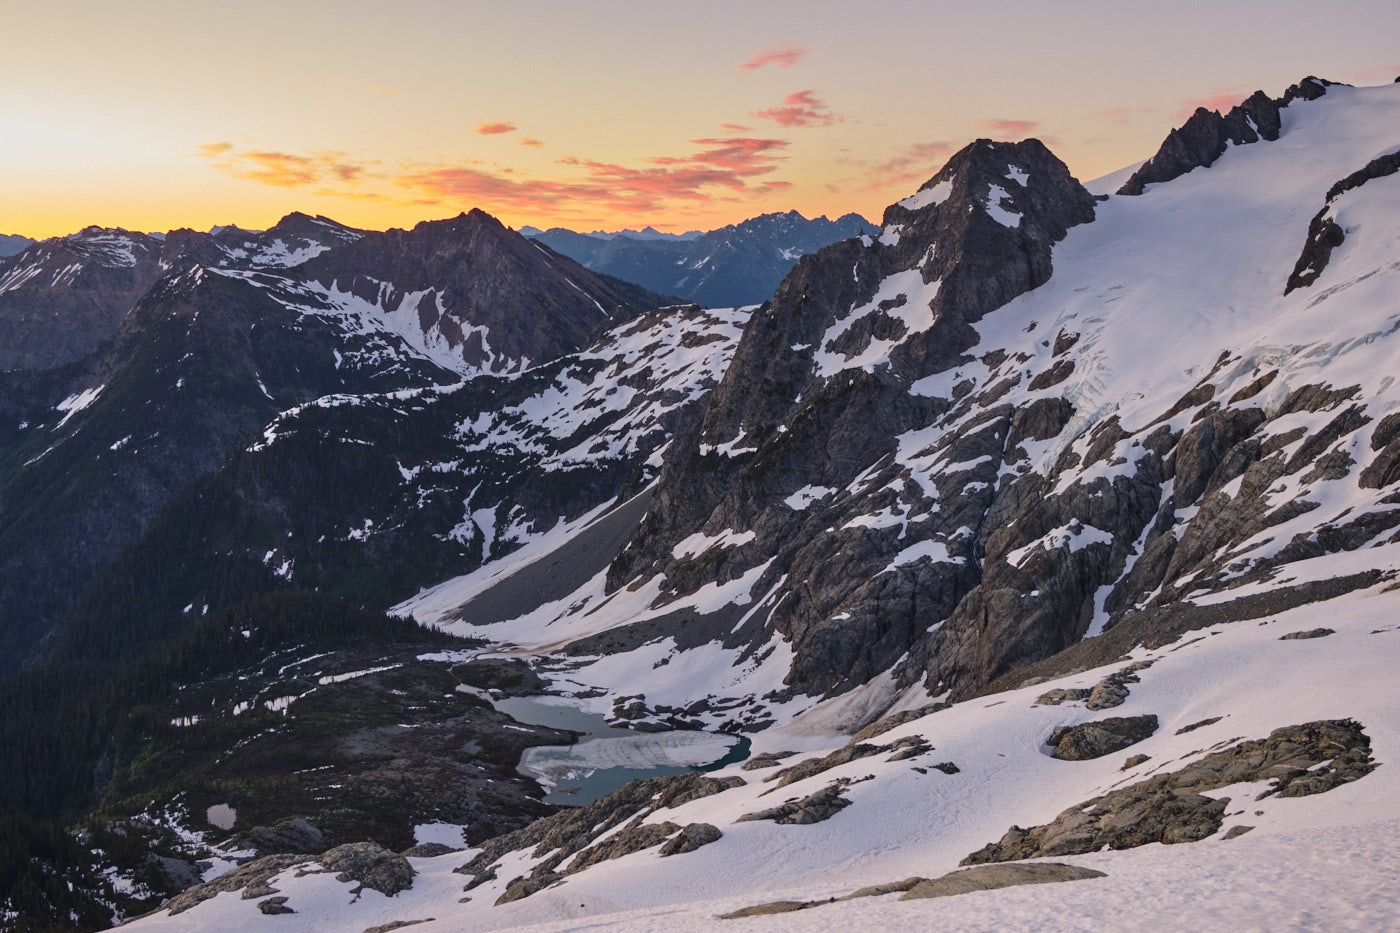
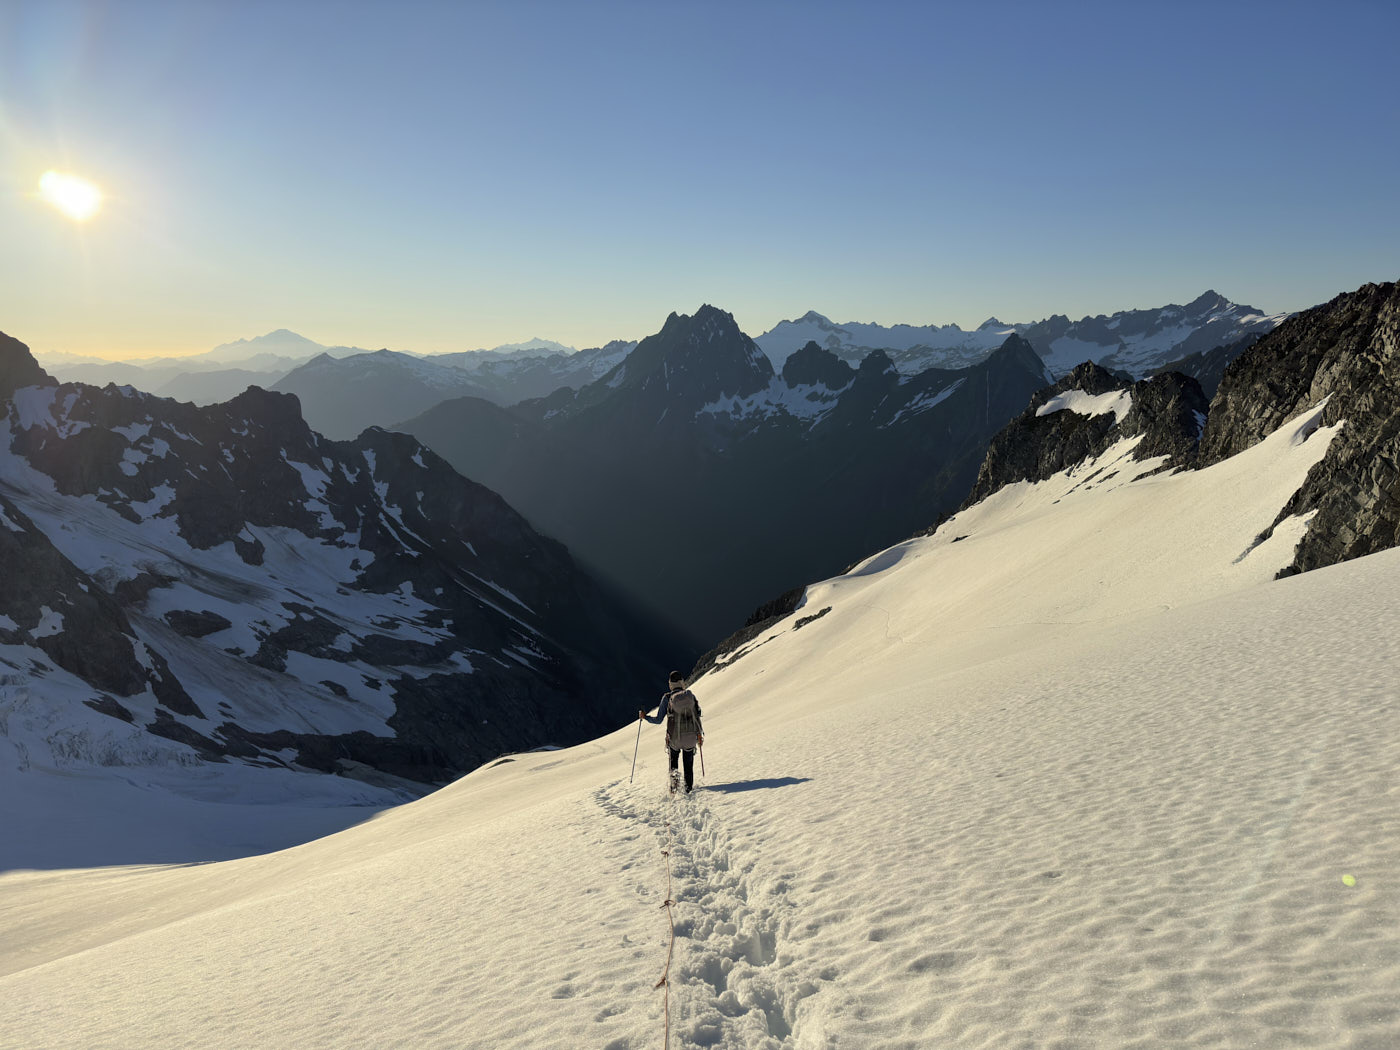
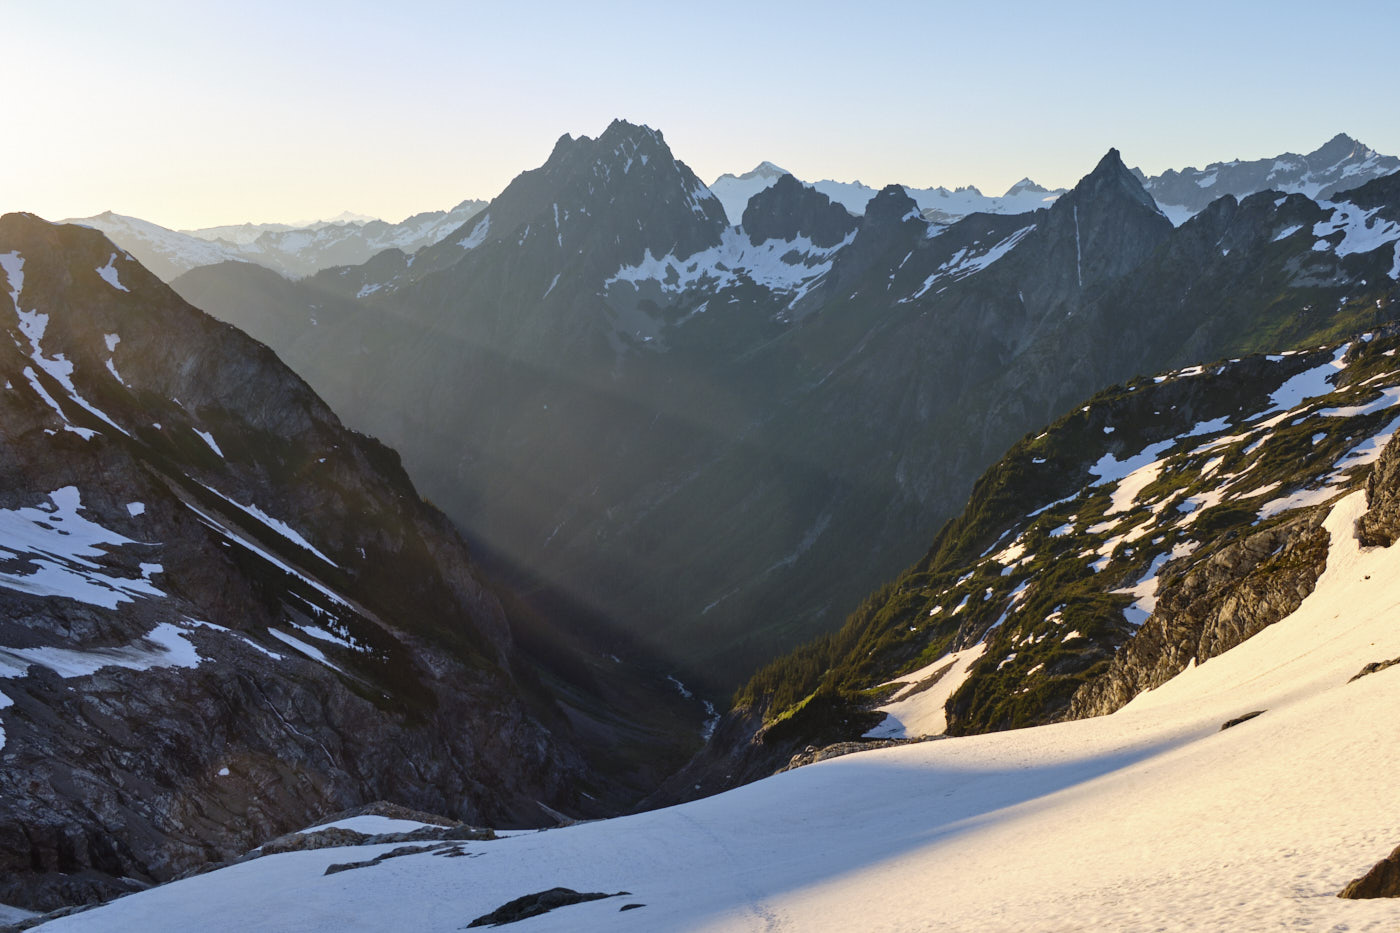
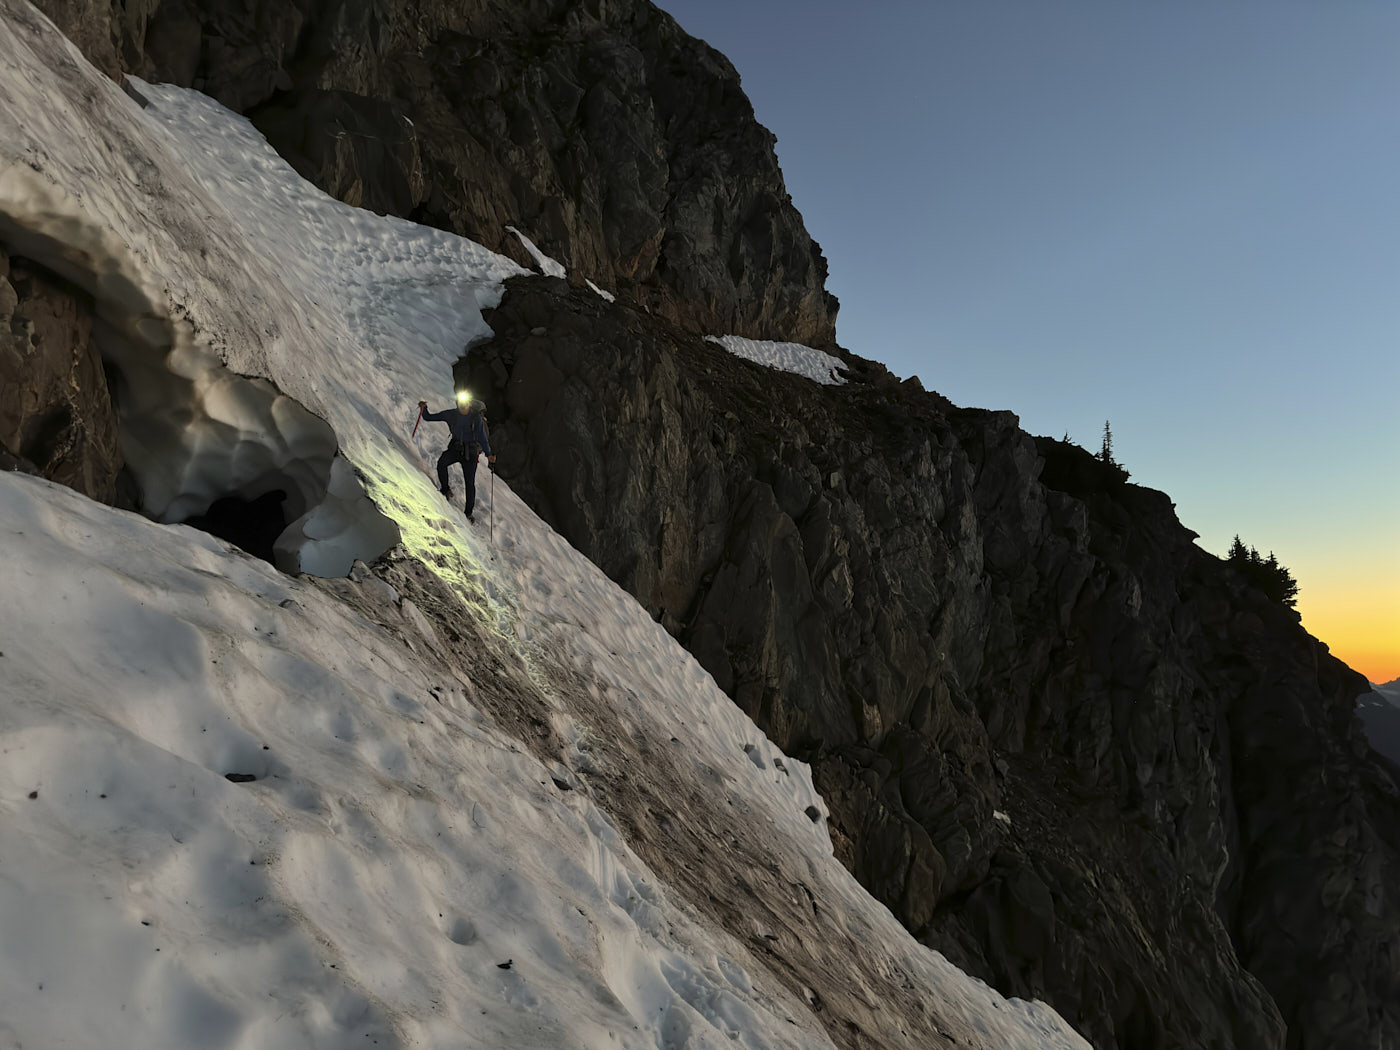
On our final day we woke up to smoky air, presumably from the wildfire we had seen blowing up in the distance the day before. Eager to get home early and avoid the heat again, we got another early start. Sunrise from Cache Col was spectacular - much better lighting conditions than we had passing through this area on day 1.
Descent to Cascade Pass was tedious but uneventful. It was a relief to return to a nice trail after spending the past 3 days on cross-country terrain.
After getting back to the car, the unexpected crux of the day turned out to be a van backing into a ditch and getting stuck, blocking Cascade River Road. Since there was no cell service, I activated the emergency function of my Garmin inReach for the first time to try and call a tow truck. But luckily, a resourceful bystander figured out how to extract the van after 45 minutes by padding the ditch behind it with logs. That gave it space to back up, and have a runway to get the momentum to drive out of the ditch. Finally, we were on our way home!
